|
|
||||||||||||||||||
.
|
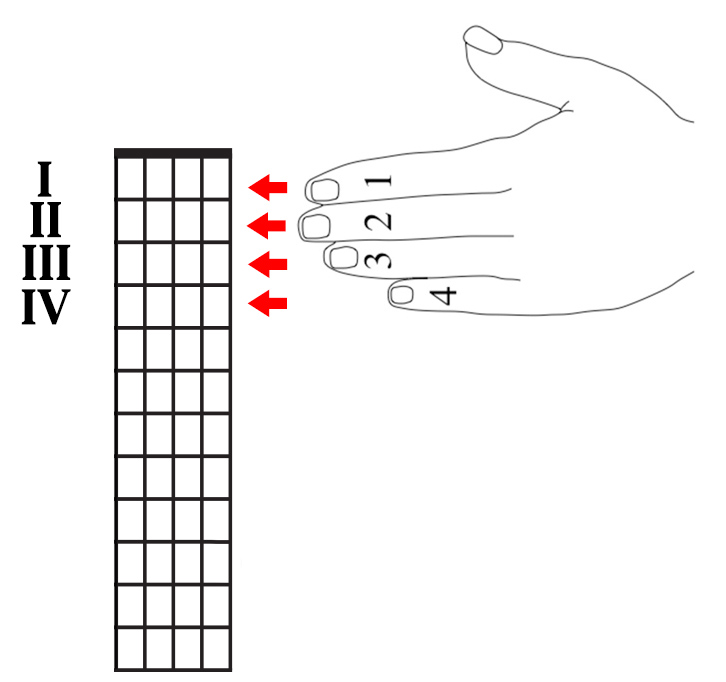
How do you know which finger to use in a fret? Begin with this pattern:
The primary fingering principle is to maintain economy of movement and, thus, avoid needless shifting of the hand up and down the fingerboard. |
 |
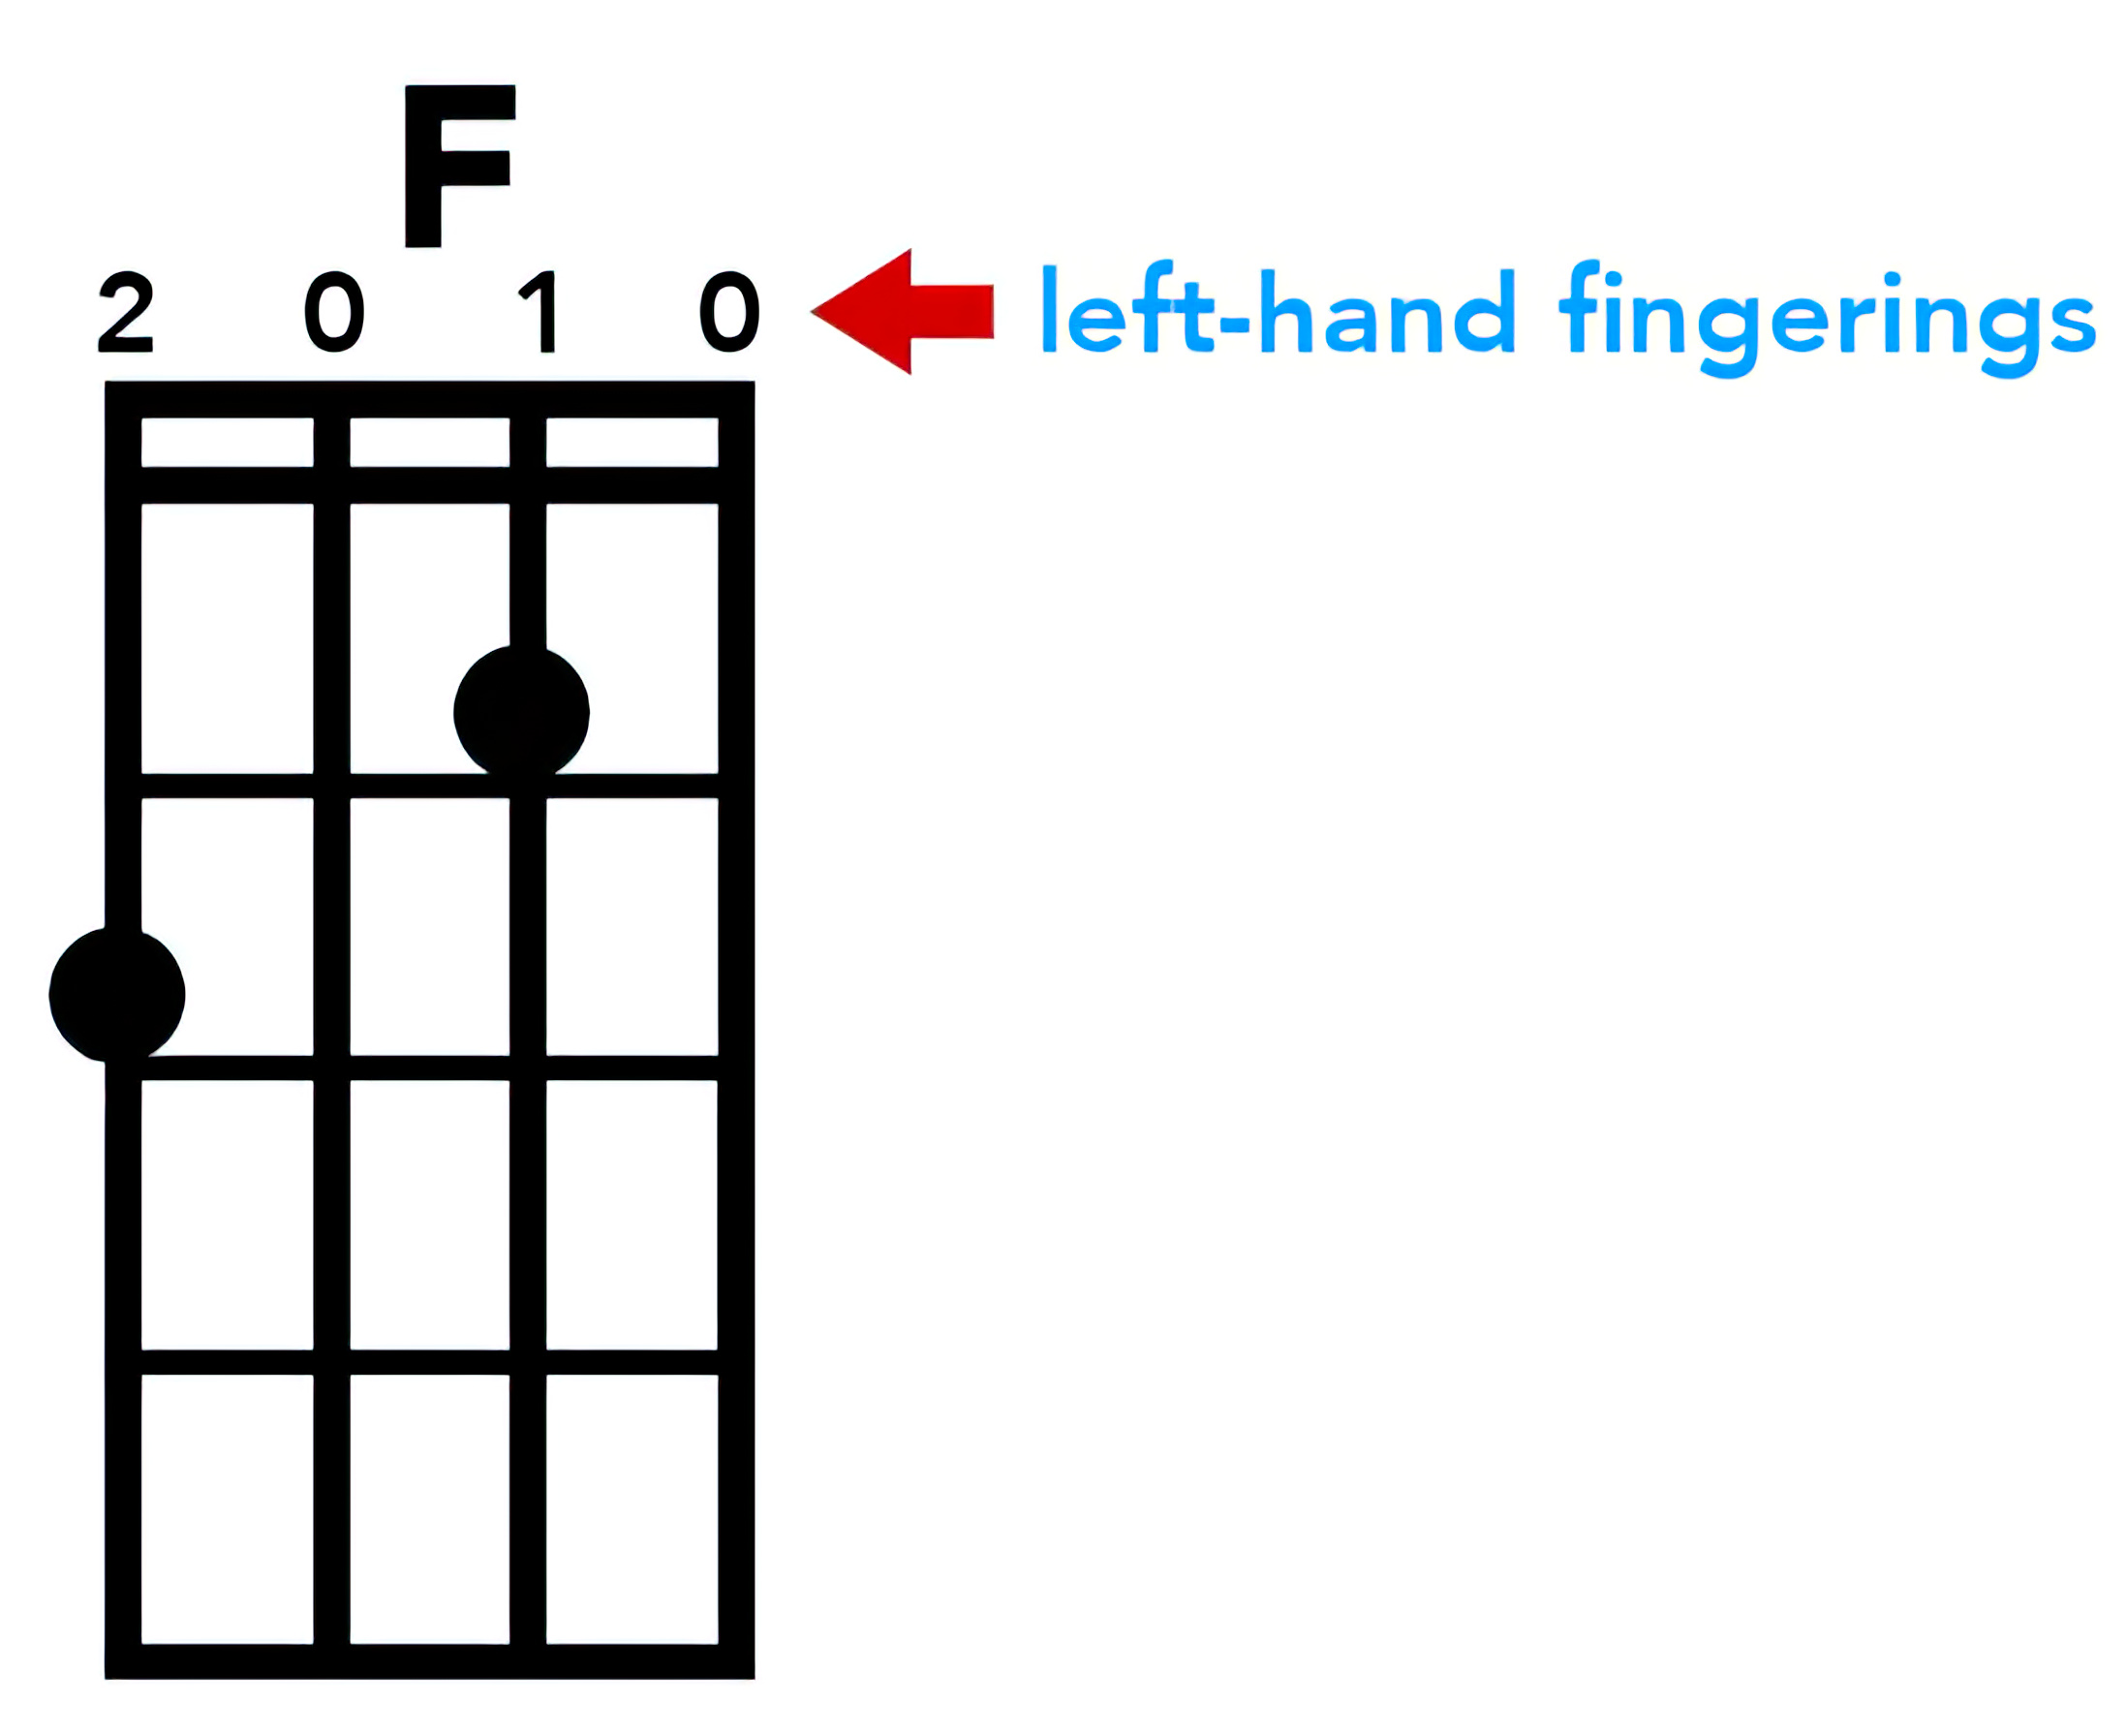
Left-hand fingerings are often written above chord diagrams:
Right-Hand Fingerings
To play single notes passages such as melodies and scales, alternate between two fingers. Thus, in the C major scale below, pluck the notes by alternating between the middle and index fingers (m-i):

If you prefer, you may also use the thumb to pluck melody and scale notes.
Kala Elite 3Koa | Photo courtesy Kala Brand Music Co.

|
 |
 Study Tips
What is Melody?
Melody consists of an expressive sequence of single notes and is the main component of a song. In other words, it's the tune you sing in the shower or the notes you plunk out on the piano with one finger. Melody may be sung or played on a melodic instrument such as the 'ukulele, flute or saxophone. Indeed, we will spend much of this course focusing on playing melody.
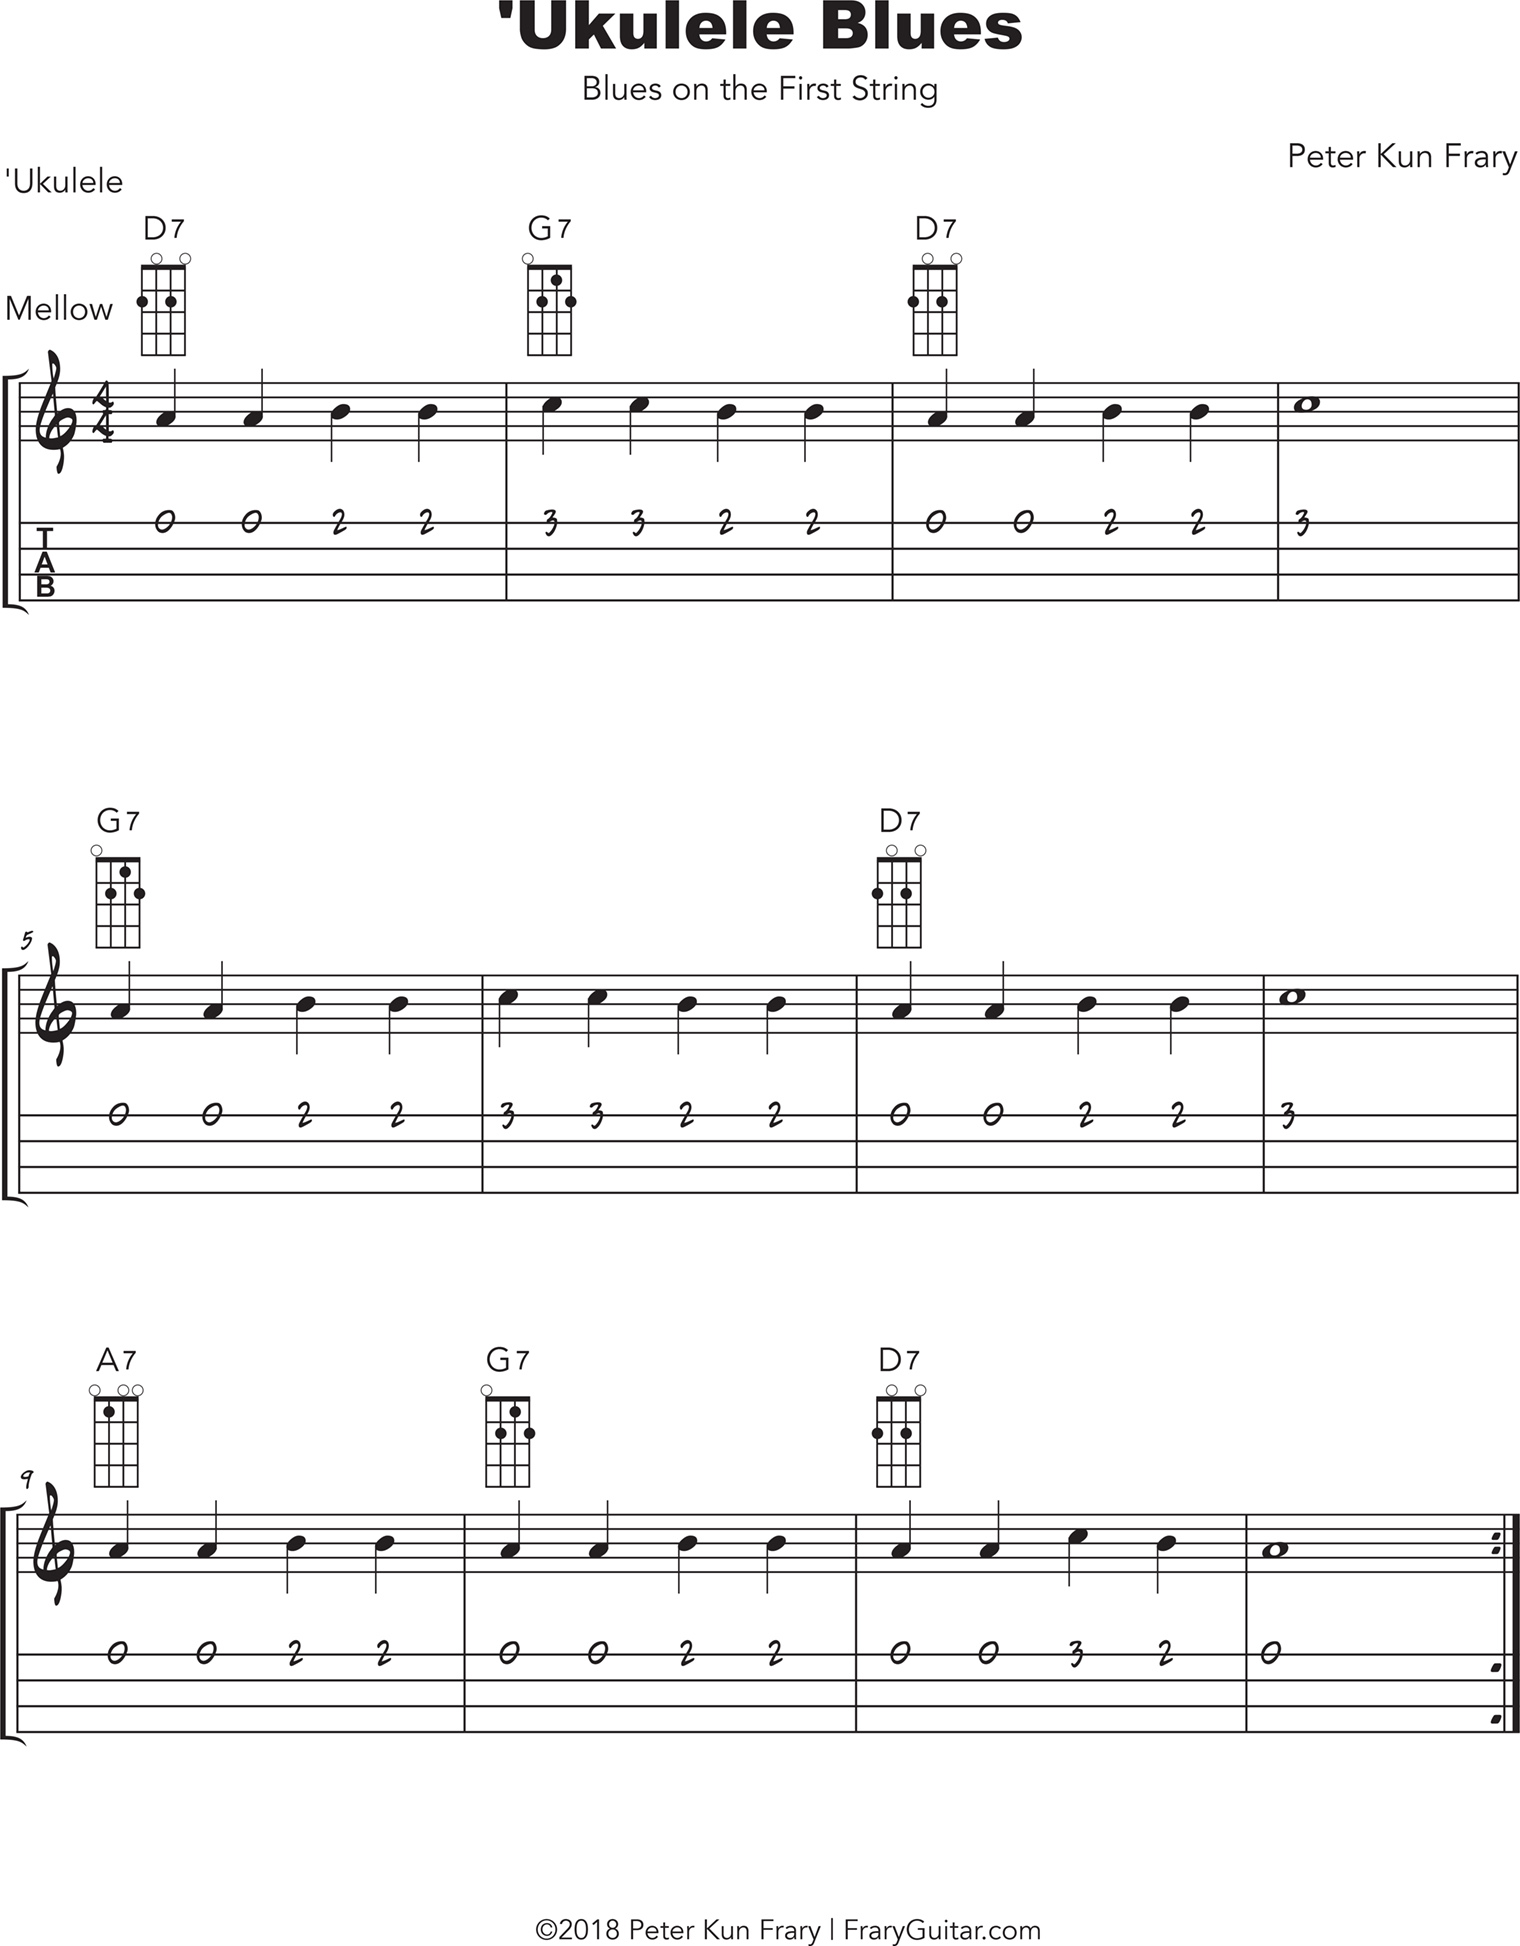
Your first piece, ʻUkulele Blues, is written in staff notation (notes), tablature and chord symbols. Learn the melody first, the part in notes and tablature, before practicing the chords. As indicated above, play the melody notes by alternating strokes between the middle and index fingers (m-i) or by using the thumb.
- Practice until the melody is smooth and aligned with the beat.
- Spend extra time spot practicing problem areas.
- Take a break after thirty minutes to avoid sore fingers and mental fatigue.
Still not sure what melody is? Watch the video demonstration!
ʻUkulele Blues Melody Demonstration | Professor Peter
Play the Melody Now!
Practice the melody of the ʻUkulele Blues until smooth and aligned with the beat. Read the music—don't just copy the finger movements in the video. Play along with the audio track or video to help shore up your rhythm.
Now that the melody of the ʻUkulele Blues is under your fingers, it's time to work on playing the background accompaniment—the chords.
 Chords
The Role of Chords
When you play a song, chords are used to support and accompany the melody. In other words, chords are a harmonic and rhythmic backdrop for the melody. Chords are normally played softer than the melody, thus drawing attention to the melody and allowing it to shine.
Simple Strum 4/4
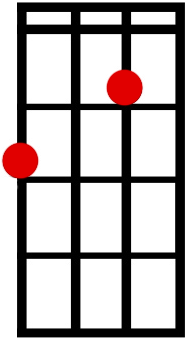
There are three chords to learn in the ʻUkulele Blues: D7, G7 and A7. Memorize their names and shapes. Don't just read the diagrams. Know what you are playing! When you're ready to practice the chords, use the Simple Strum 4/4: one thumb strum per measure on beat one: strum-2-3-4 | strum-2-3-4 | etc.
Simple Strum 4/4 | One strum per measure.

Once you can navigate the changes, you may wish to increase strum frequency to four strums per measure (Flat-Four Strum). When no chord is written above a measure, the musical convention is to continue playing the prior chord.
ʻUkulele Blues Strum Demonstration
Practicing Chords
First, your left-hand fingernails are trimmed as short as possible. No amount of practice will overcome buzzes and muffled tones caused by long fingernails.
If a chord is difficult to finger, spend time practicing the individual chord:
- Form the chord shape in the air and hover it over the strings.
- Drop the chord shape onto the strings.
- Do the above repeatedly until it becomes a reflex.
Plant all the notes of the chord at once, rather than one finger at a time. Staggered placement creates rhythmic delays.
If a chord transition is difficult, practice switching back and forth between the two chords until smooth.
Audio Tracks
Use the audio track for the ʻUkulele Blues to help you learn the piece.
- Studying the lesson text and learn the new notes and techniques.
- Listen to the track to help form practice goals.
- Practice the piece until reasonably smooth.
- Finally, practice playing along with the audio track.
As you play with the track, you may notice incorrect rhythms or notes. Spot practice those areas.
Are you stuck or need help? Make a Zoom appointment and we'll help you figure it out.
ʻUkulele Blues | Peter Kun Frary, 'ukulele

Download | ʻUkulele Blues PDF
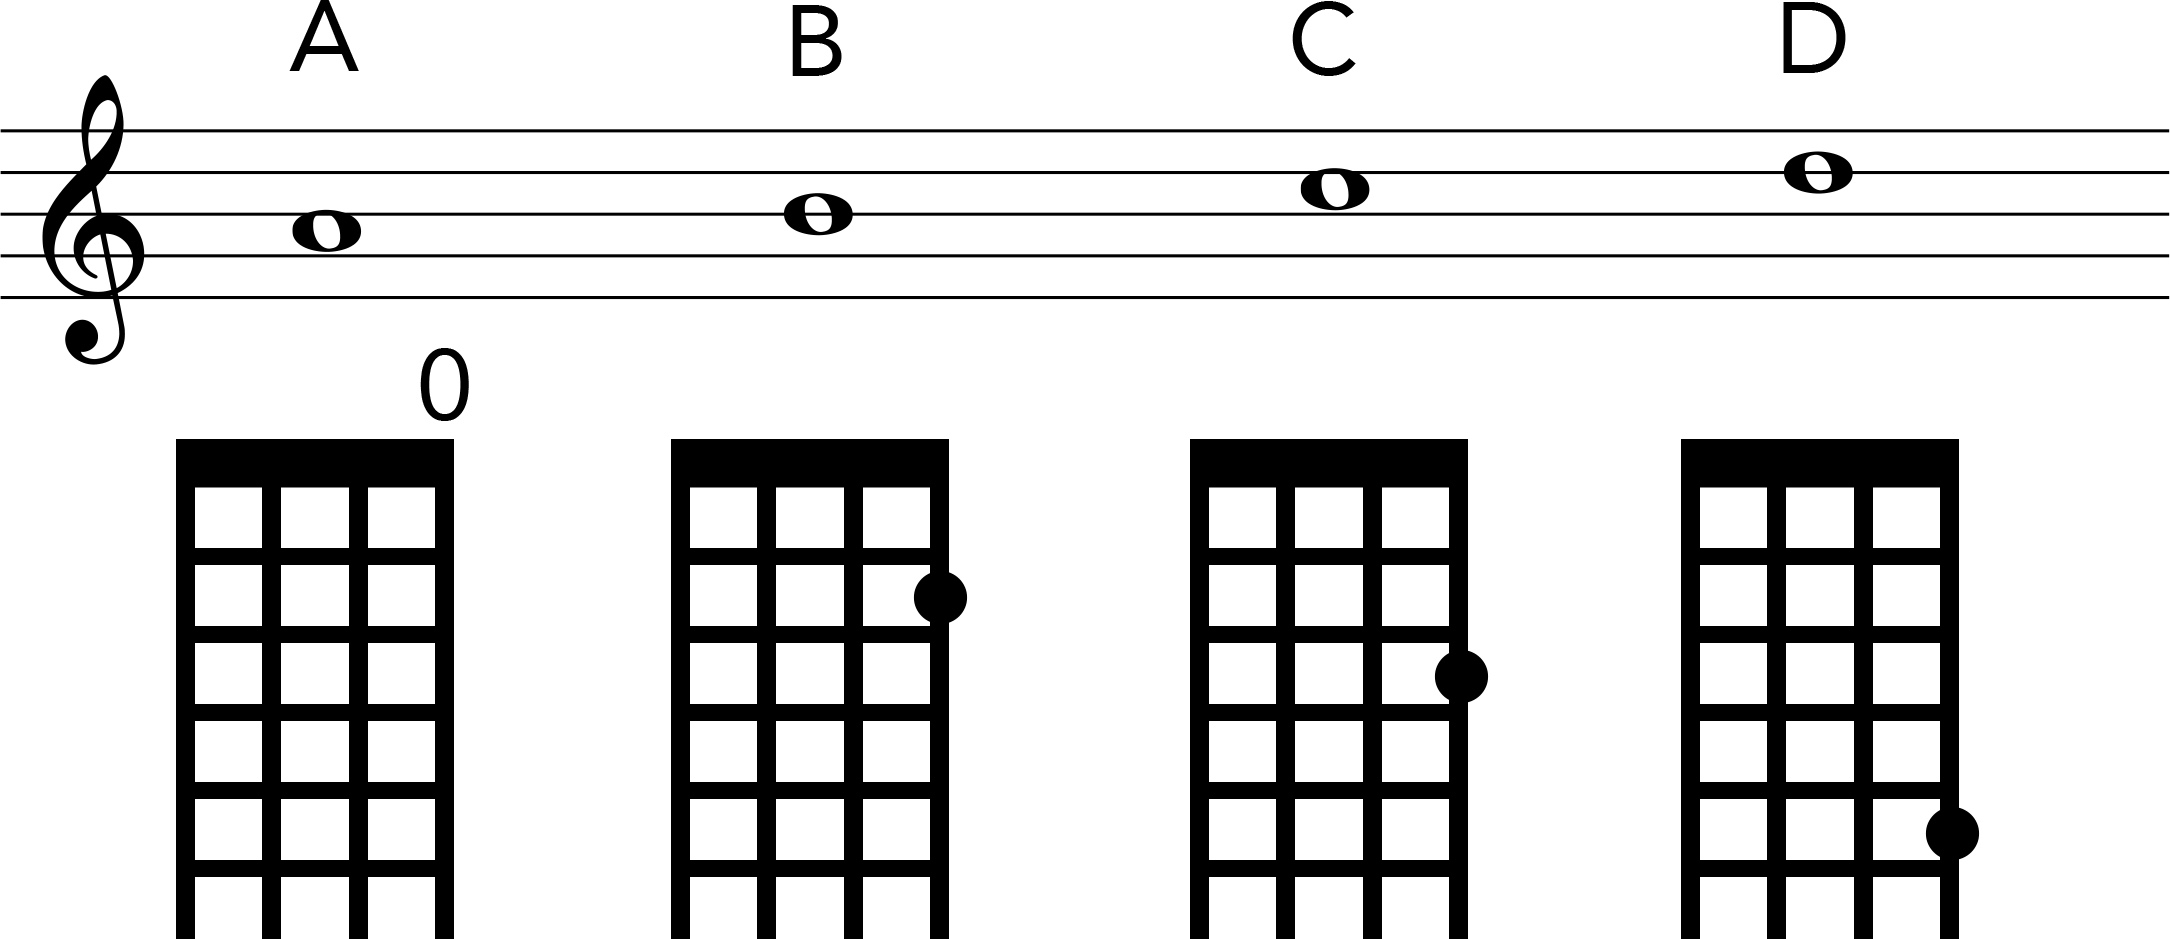
Answer
The note is C.
VocabularyA, B, C, D, fingerings
 |
 |
 |
©Copyright 2021-25 by Peter Kun Frary | All Rights Reserved
