|
. Canon EOS R7 ReviewFirst R Series APS-C Camera Peter Kun Frary. .
|

 Construction


 Image Stabilizer


| Basic Zone contains Full Auto modes: camera controls all functions, tailoring settings to the situation. You simply point and shoot. Basic Zone modes include A+ ( |
|

 |
Creative Zone sports manual and semi-auto modes: Fv (Flexible-priority AE), Program (P), Aperture Priority (Av), Shutter Priority (Tv), Manual (M) and Bulb (B). Three custom modes (C1, C2 and C3) are used to save favorite drive, exposure and other settings. Three custom modes are also available for video modes. I mainly use Program (P), Aperture Priority (Av) and Manual (M) modes. |
Flexible-priority AE (Fv) lets you change aperture, shutter speed, ISO and exposure compensation while looking through the EVF. The
QCD is used to scroll from aperture, shutter speed, ISO, etc., while the
Main Dial adjusts the chosen setting. It's Canon's "intelligent" manual mode but with user input galore. Settings begin as full auto. Once you change a setting it remains until you delete it by pressing the trash button. A long press of the trash button resets all user input Fv settings to the full auto default. I don't get on well with this mode and prefer Manual (M) when I need to diddle the settings.
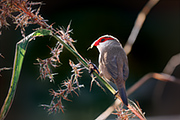
Monarch | EOS R7 and RF 70-200 4L IS USM | P mode, F5.6, 1/500, ISO 100
Program (P) is an auto mode similar in behavior to
, but allows user overrides of AF, ISO, FEC, WB, aperture, shutter speed, etc. Aperture and shutter speed overrides reset when metering times out. Balanced fill flash is automatic in bright light (EV 10 and above) but, as light gets dimmer, it prioritizes hand holdable shutter speeds over balancing flash and ambient light. Thus, in dim light (below EV 10, flash assumes the main light role while the background is allowed to go dark.
Aperture Priority (Av) lets you select aperture and the camera sets shutter speed. Choose this mode if you wish to control depth of field but want everything else automatic. Flash is treated as balanced fill flash, even when the background is relatively dim. Thus, low ambient light results in slow shutter speeds: a tripod may be need to prevent camera shake.
Shutter Priority (Tv) allows user selection of shutter speed while the camera sets the aperture. Choose this mode if you wish to control shutter speed to freeze or blur movement but want everything else automatic.
Manual (M) features user selection of aperture and shutter speed. I use this mode for studio, landscape and macro shooting. Like all modes in the Creative Zone, you may use ISO Auto or manual ISO. With ISO Auto, Manual mode is another semi-auto mode: ISO adjusts up and down for a correct exposure no matter what aperture or shutter speed selected. Save for bright light, I rarely use Manual mode with ISO Auto. Why? It's easy to end up with crazy high ISO settings with lots of noise. I set ISO manually for the noise I can tolerate and control aperture and shutter speed accordingly.
| Bulb (B) mode leaves the shutter open for as long as the button is held down. To prevent camera shake, use a tripod, and trigger and lock the shutter open with a wired Remote Switch RS-60E3 or wireless remote such as the RC-6 or Wireless Remote Control BR-E1. You may time exposures yourself or use the long exposure timer available in the Tab Menu ( |
|

Bulb mode is for scenes requiring long exposures such as astrophotography, nightscapes and fireworks. The exposure meter is useless for these types of situations, and you'll have to experiment to find the best ISO, aperture and exposure times. For example, for fireworks, I find that ISO 100, F11 for 10 to 30 seconds usually yields good results.
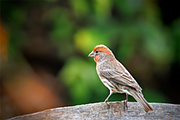
Fruit Punch | EOS R7 and EF-S 15-85 3.5-5.6 IS USM | F7.1, 1/160, ISO 100 | In decades past I used spot or partial metering for an image like this, but Evaluative metering handled it perfectly.
Custom Modes—C1, C2 and C3 positions on the mode dial—are used to save favorite AF, drive, exposure and other settings. To set up a custom mode, select the AF, tracking, drive, ISO, etc., you wish to use in a particular exposure mode such as P or M. Once you're satisfied with your settings, press the MENU button and tap the
icon (wrench) tab. Select menu 6 and tap the Custom shooting mode (C1-C3) submenu. Register your settings to C1, C2 or C3 and tap OK. I have C1 setup for chasing fast critters: Expand AF area, case 2, mechanical shutter, H-drive, AI servo, AutoISO and white balance, and animal tracking with eye focus. C2 uses the same settings but with electronic shutter.
 Metering Patterns
Metering patterns—Evaluative, center weighted, partial (6%) and spot (3%)—may be set via the
Quick Control screen or menus. There is no dedicated metering mode button as was common for the 5D and XXD series. And I don't really need one. In the past, DSLRs metered on a separate sensor on the pentaprism. The default metering pattern on the R7, Evaluative, is measured directly on the sensor. Metering accuracy has improved so much with the creation of the RF system I rarely need spot or partial patterns. However, if you find yourself constantly switching metering patterns, it may be mapped to one of the buttons for fast access while looking through the EVF.
| Evaluative reads light from the entire image sensor (384 zones), and calculates the exposure based on contrast, color, which parts of the scene are in focus, subject detected, etc. In other words, Evaluative is an intelligent pattern that uses algorithms to analyze a scene and determine exposure. |
|
Evaluative reads light from across the entire image sensor—384 metering zones—and subsequently calculates the overall exposure value based on contrast, color, which parts of the scene are in focus, subject detected, etc. In other words, Evaluative is an intelligent pattern that uses algorithms to analyze a scene and determine whether the sensor needs to capture more or less light to produce a good exposure.
Metering Icons | Evaluative, Spot, Partial and Center Weighted icons are used in the menus and Q-Screen to symbolize metering options.
On the other hand, spot, partial and center weighted metering patterns are not very intelligent. They simply measure light where pointed and the photographer makes adjustments based on experience. Spot (3%) takes a measurement from a small circle in the center of the screen. Choose spot metering when you wish only subject, and not the background, to be exposed properly—e.g., performer on a dark stage with spot light. Partial (6%) and center weighted are used similarly to spot but take in a larger percentage of the frame.
Tab Menu
The Tab Menu is the interface for changing camera features such as AF, video, button and dial customization, etc. To access the Tab Menu, press the MENU button on the back of the camera. Once activated on the LCD, you'll find seven icon tabs grouped by category. Each icon category is color coded (red, blue, etc.) and has one to ten numbered menus. Numbered menus may have up to seven sub-menus. Menus may be navigated by touchscreen or via wheels and buttons.

My Menu
The sheer number of items in the Tab Menu can be overwhelming, especially in the field when you need to quickly change something. Canon helps us simplify by allowing user selected menus to be grouped under the

Customize Buttons & Dials
You may customize the buttons and dials to fit your shooting style. Many features are buried in the menus—e.g.,
Auto Level—and if you use them regularly you'll want quick access via a physical button or dial. Indeed, almost every menu bound feature may be mapped to a particular button or wheel.

To customize camera features, press MENU and tap the

Dial Function
If you need access to more features than buttons available, multiple features may be grouped under

 Auto Focus
For focusing, the R7 uses Dual Pixel CMOS AF II. Focusing is done directly on the imaging sensor, rather than on a dedicated AF sensor in the bottom of a DSLR mirror box. Dual Pixel AF has been around for many years, gradually perfected in the LiveView operation of DSLRs such as the EOS 70D, 80D and 90D.
The implementation of Dual Pixel CMOS AF II on the R7 covers 100% of the frame and is divided into 651 31 x 21 pixel zones. For video, there are 527 31 x 17 pixel zones. In comparison, the 90D has 5481 AF points (rather than small zones) in LiveView with 88% horizontal and nearly 100% vertical sensor coverage.
AF Areas | Pressing the AF point selection button brings up a selection with 8 AF area choices. "Expand AF Area" is selected.

Limit AF Areas
The EOS R7 sports eight Canon AF area modes: 1-Point, Spot AF, Expand AF area (2 types), Flexible Zone (3 types), and Whole Area (automatic AF point selection). The three Flexible Zones have default coverage similar to the small and large zone areas found on the 90D and 6D MK II. However, R7 zone coverage size may be customized by the user, hence the "Flexible Zone" moniker.
For general shooting, I use single point, Expand AF area, and Flexible Zone 1 (small zone) and move the AF area around as needed with the touchscreen. I'd only use Whole Area AF if I was drinking or wanted a friend to take a picture for me. While whole zone is decent at guessing what the subject should be, it often misses for me, tending to lock on the nearest and/or brightest objects.
Switching AF areas may be done via the
AF point selection button.
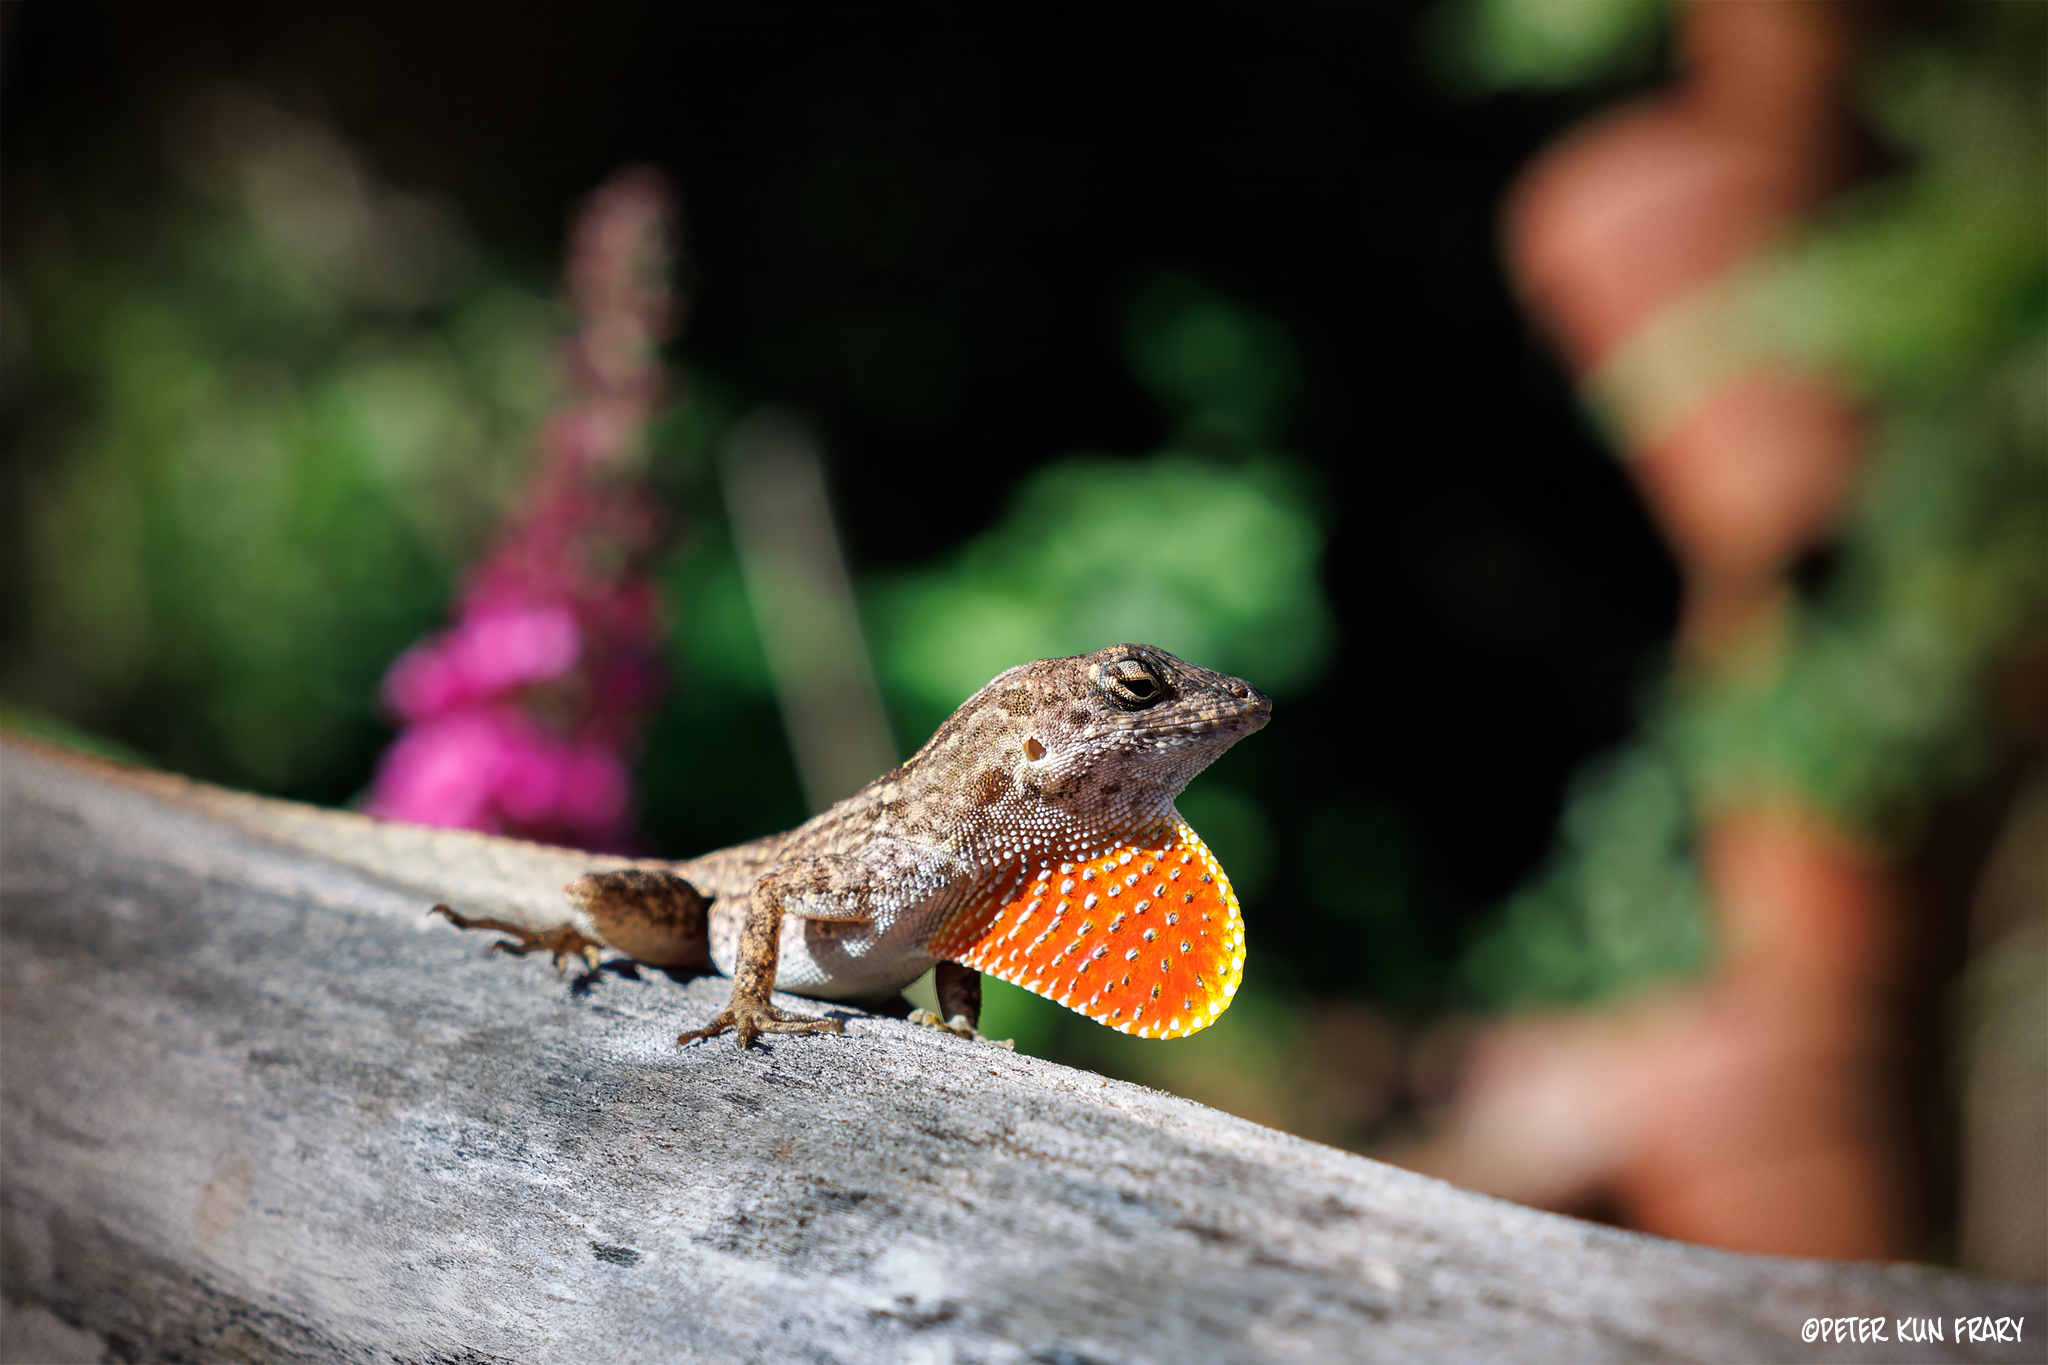
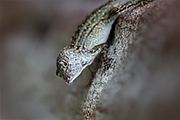
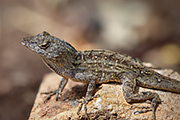
Friendly Anole | EOS R7 and RF 50 1.8 STM | F7.1, 1/500 and ISO 100 | Animal
eye focus stayed locked on this little guy's eye like glue.
Subject Recognition
The EOS R7 features the same AI enhanced EOS iTR AF X subject detection and tracking system pioneered on the EOS R3, allowing focus and tracking of human, animal, and vehicle subjects. Subject recognition may be turned off if you wish to manually select point of focus. When subject tracking is combined with
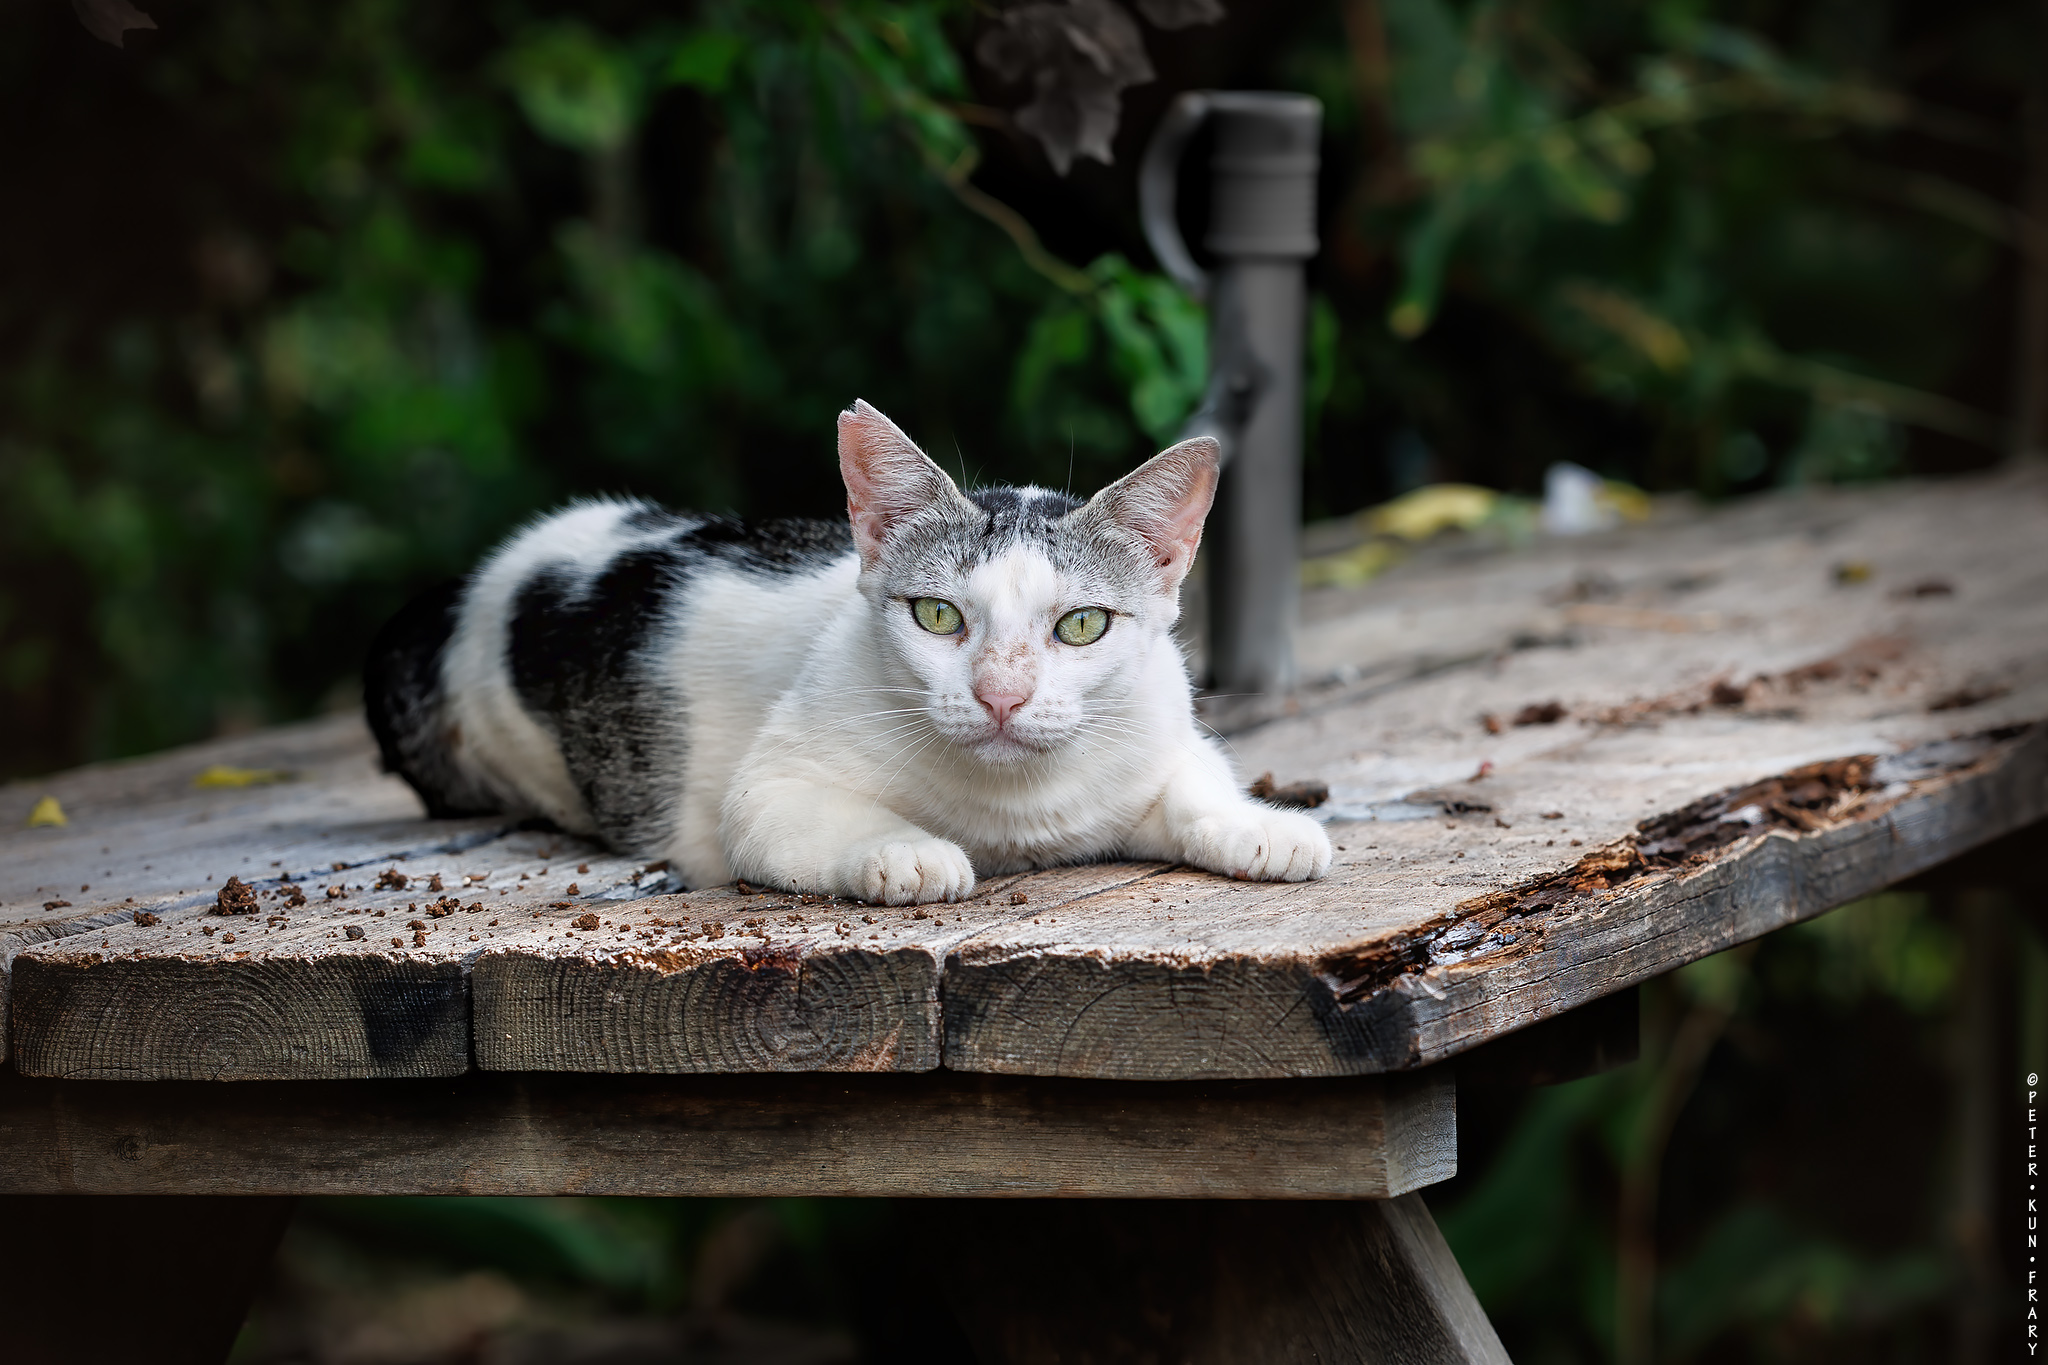
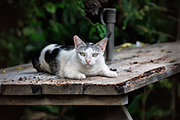
Unfriendly Cat | EOS R7 and RF 100 2.8L Macro USM |
The EOS R7’s human detection algorithms recognize homo sapiens eyes, face, head, and torsos. Worked great on my wife and students, but I used animal mode the most with
Multi-Controller to toggle eye focus on and off and the DOF button to switch tracking on and off. It takes practice—you need to move quickly by feel—but the hit rate for wee critters is the highest of any camera I have owned.
Anole | EOS R7 and RF 50 1.8 STM |

Tracking in Any AF Mode
The R7, unlike the R, R5 and R6, allows tracking in any AF mode, including 1-point. Of course, AI servo needs to be activated for tracking to work. Tracking even works with static objects! For example, for the ginger bud below, I was in 1-point mode and placed the AF point on the top of the bud. With the shutter button half-pressed, I moved the camera to recompose with the subject off-center. The AF point stays locked on the bud and adjusts focus as I rock and sway in the Hawaiian trade winds! The old focus and recompose technique is finally modernized! Plus, it is deadly accurate for macro and large apertures. Wish my EOS R had these AF features...
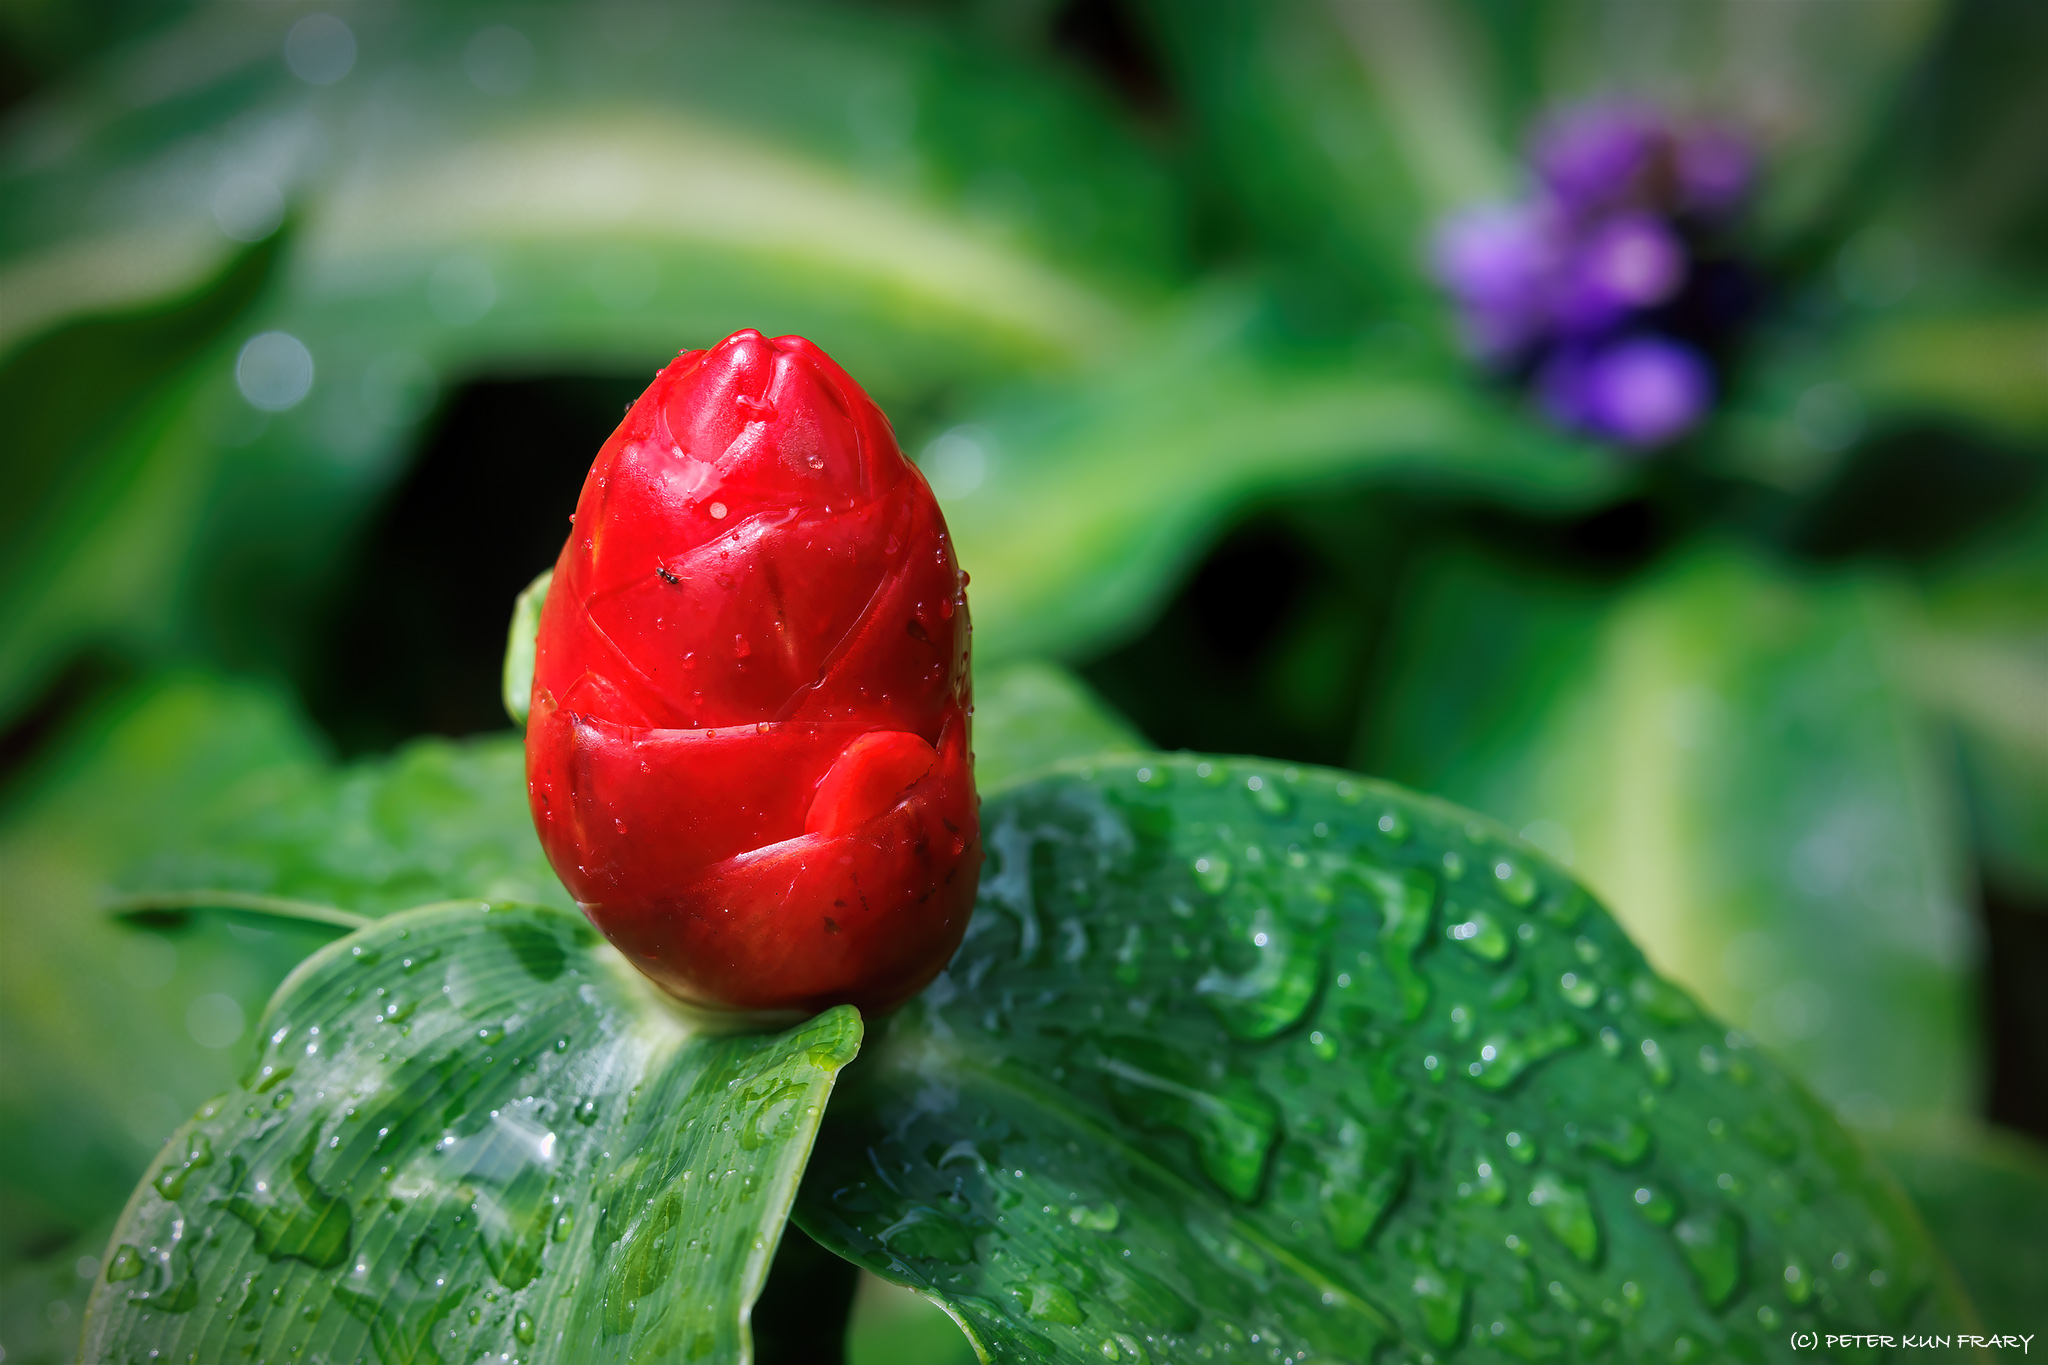
Ginger | EOS R7 and RF-S 18-150 3.5-6.5 IS STM | F7.1, 1/160 and ISO 100
Focus Bracketing
| Initially, I thought focus bracketing, also called focus stacking, was a gimmick. However, I found it extremely useful for macro and some types of landscapes. Focus bracketing uses continuous shooting coupled with incremental focus changes for each shot. Images are merged into a single image with extended depth of field. | 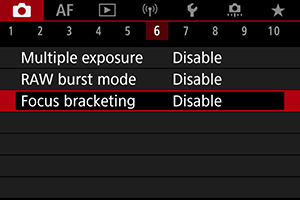 |
The composite image is created automatically in-camera, or individual frames may be merged in DPP4 or any depth compositing program.
To use focus bracketing, press the MENU button, tap the
tab (red), tap menu 6 and select Focus bracketing. Next, enable Focus bracketing, specify number of images per shot (2-999), set focus shift increments on the ruler scale, and enable Exposure smoothing. Finally, enable Depth composite for automatic in-camera compositing. Even with in-camera compositing enabled, the RAW images are available should you wish to manually composite bracketed images in DPP4 or other programs.
Small movements produce artifacts in the final image so, for best results, use a tripod, albeit I got good results about 2 out of 3 tries when braced against a solid object. For the image below, I set 20 images per shot, -1 focus shift, exposure smoothing and in-camera compositing. I focused on the eye and almost nothing else was in focus in the first frame of the 20-frame sequence.
Most RF and RF-S lenses are compatible with focus bracketing, but only a handful of recent model EF and EF-S lenses are compatible: focus bracketing compatibility list. I had the most consistent results with the RF 100 2.8L Macro IS USM and RF-S 18-150 3.5-6.3 IS STM. My RF 85 2.0 Macro IS STM and EF-S 60 2.8 Macro USM worked okay but seemed to require more tries to get a good result.
Anole | EOS R7, RF 100 2.8L Macro IS USM | F2.8 and 20 image focus bracketing

 Flash
Flash
Unlike the 90D and R10, the R7 lacks a popup flash. Thus, to use flash, a shoe mount E-TTL flash is required. I rarely use flash nowadays as I principally shoot in natural light, so I'll keep comments brief.
Multi-Function Shoe
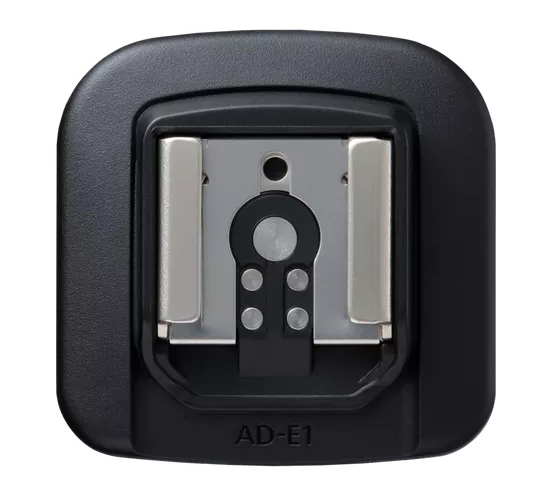
The R7 has a newly designed hot shoe, the Multi-Function Shoe, sporting both Multi-function and standard EX flash contacts. Essentially the old E-TTL shoe with additional electrical contacts for accessories such as microphones, E-TTL wireless controllers, GPS, etc. The gotcha is weather sealed Speedlites such as the Canon 600EX II-RT lose sealing on the foot due to the extra contacts on the new shoe.
Shoe Adapter Not Needed
Since the R7 shoe has both Multi-function and standard EX flash contacts, the Canon Multi-Function Shoe Adapter AD-E1 is not needed to work with Canon's E-TTL Speedlites or E-TTL controllers. Confusion on whether or not the Shoe Adapter AD-E1 is required is due to Canon's lack of flash standardization on R range cameras:
- R, RP, R6, R5 and R100: shoe with EX contacts only (no Multi-function)
- R50/R10: Multi-function shoe only (AD-E1 needed for EX flash)
- R3, R6 MK II, R7 and R8: Multi-function and EX flash contacts
If you own a weather-sealed Speedlite like the Canon 600EX II-RT, you might consider purchasing an AD-E1 for your R7. The AD-E1 enables the flash to retain its weather sealing on the foot and functions as a short riser. That’s all it does. If you don’t require weather sealing or own a Speedlite without weather sealing, the AD-E1 is not necessary.
Multi-Function Shoe Adapter AD-E1 | This hot shoe adapter for the Multi-Function Shoe isn't needed by most R7 owners. | Photo courtesy Canon Inc.
I tested the Multi-Function Shoe with 220EX, 270EX II, 430EX MK II and EL-100 Speedlites, all older models. They all fit snuggly in the shoe and images were well-exposed. Features such as
FEC, first and second curtain sync, flash metering options, wireless triggering, etc., may be enabled in the R7 flash menu. High speed sync is toggled on and off with a switch on the Speedlite. I was surprised my oldest Speedlite, the 220EX (c. 1995), appeared in the flash menu and included advanced options I've not seen on my prior DSLRs. For example, toggling between face and ambient priority flash metering options and setting ranges of shutter speeds in flash modes.
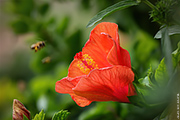
Fill Flash | Av mode balances flash output so the subject and background are illuminated equally. If you desire more subject pop, ambient exposure may be reduced (EC) or flash output increased (FEC).

Among my collection of Speedlites, the petite but full featured EL-100 was the best fit for the R7. It's also the newest Speedlite I own, introduced with the EOS R in 2018. My old 430EX II felt huge and top heavy on the petite R7.
One oddity about the R7 is it disables the red AF assist light on Speedlites. Apparently Dual Pixel AF isn't compatible with near IR light.
Unlike higher EOS models, the R7 lacks a dedicated
Finally, the near-IR (red) AF assist on Speedlites is not compatible with Dual Pixel AF and is disabled. Luckily, the R7 has a built-in AF assist light.
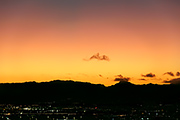
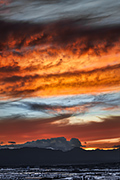
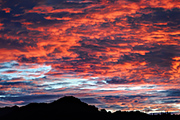
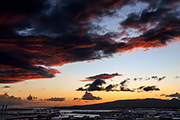
Southern Koʻolau Range and Nuʻuanu Valley | EOS R7 and EF-s 17-55 2.8 IS USM | 33mm, 1/160, F4.5 and ISO 100
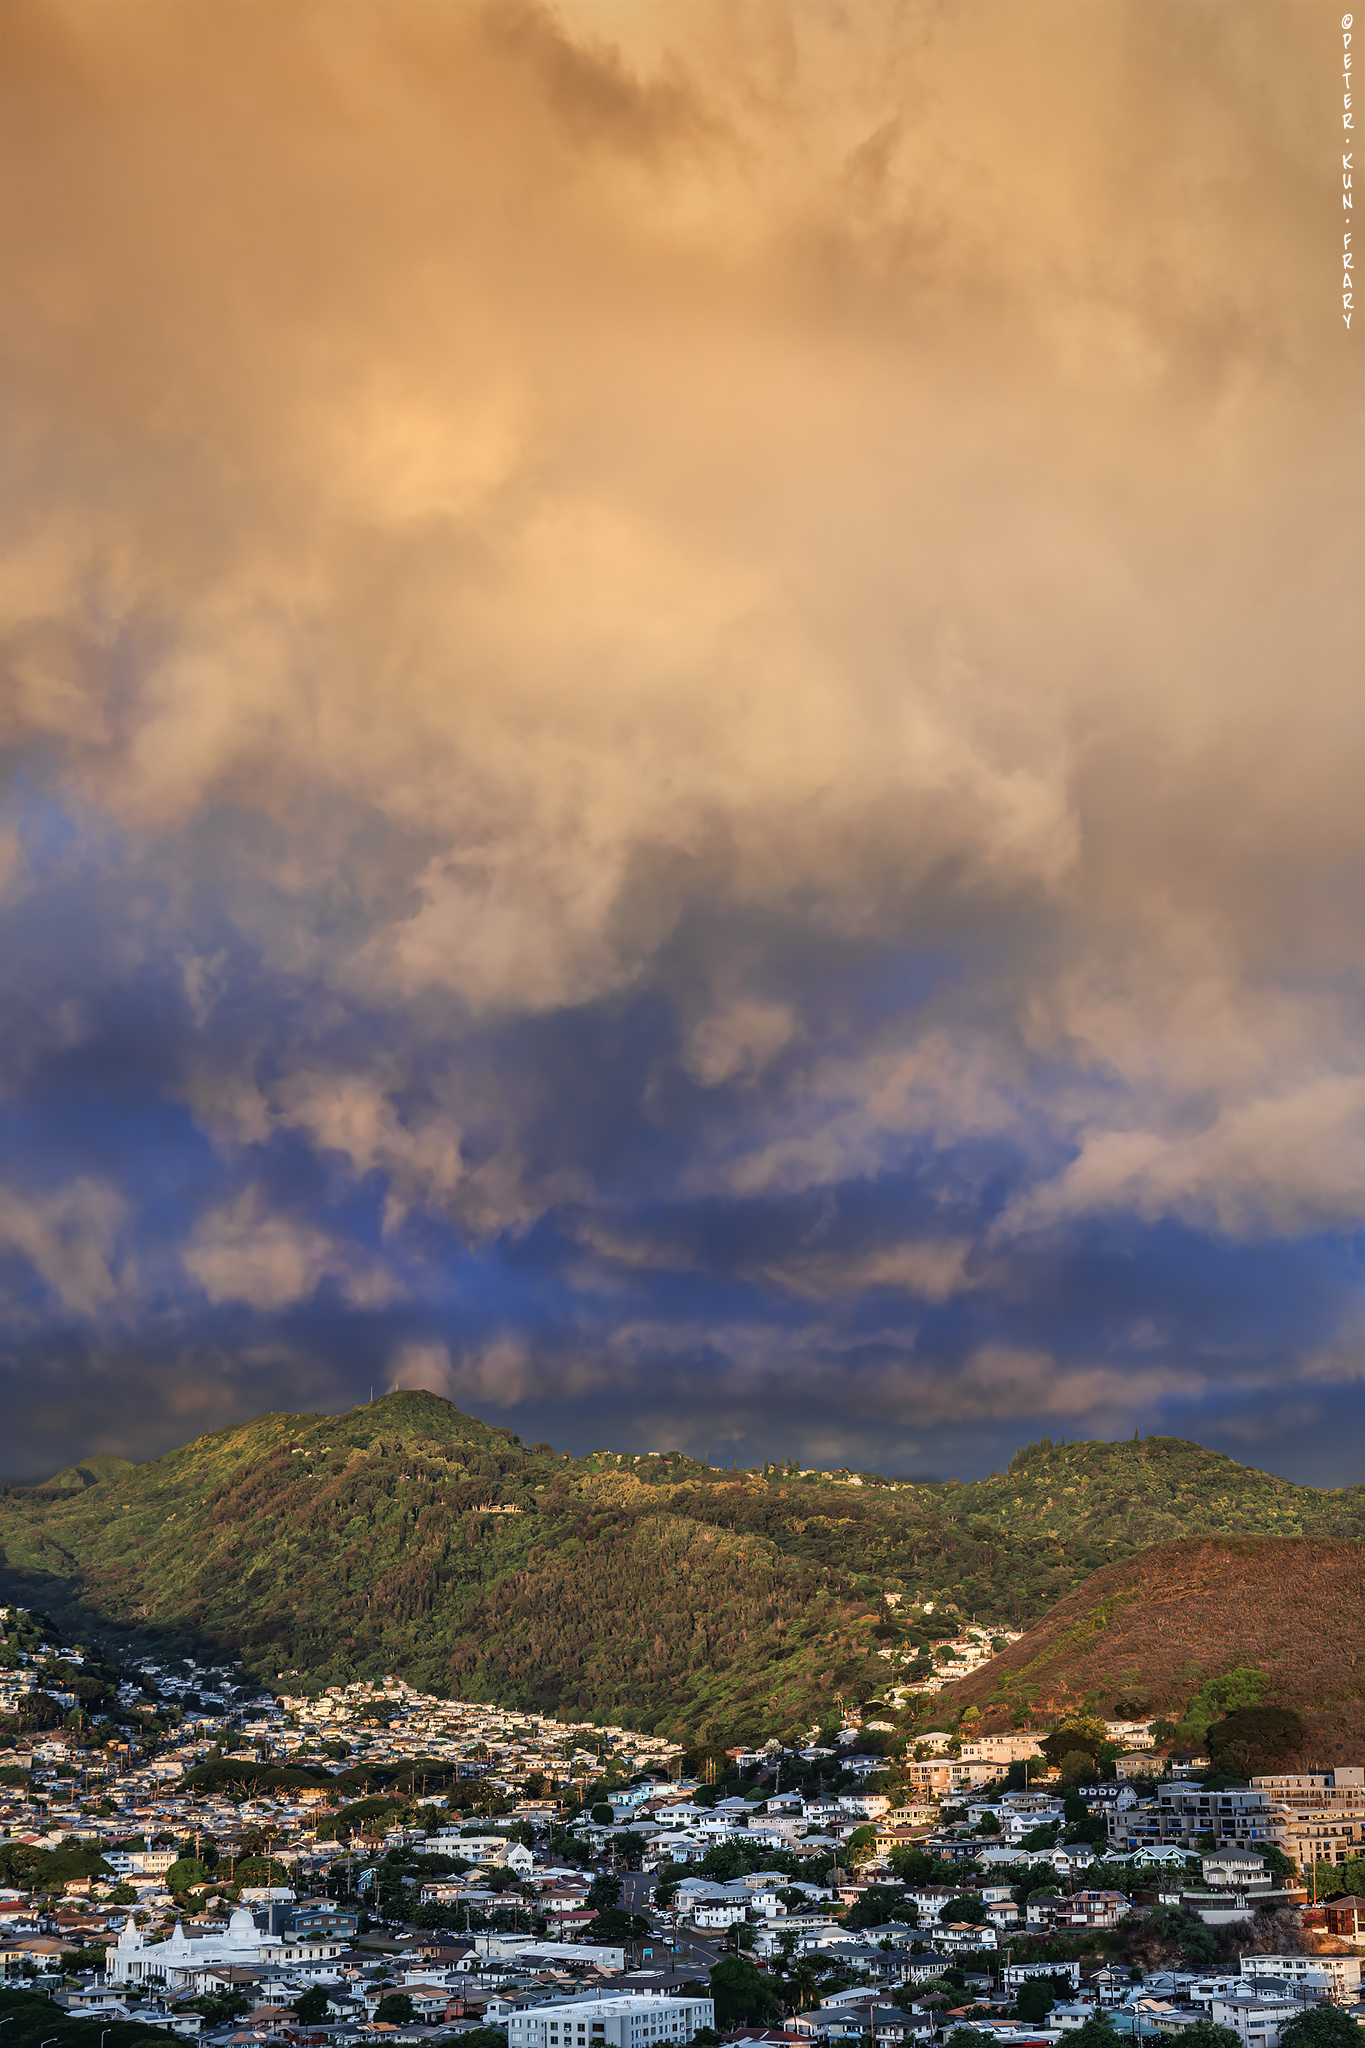
 Image Quality
Canon states the R7 has a newly designed 32.5 megapixel APS-C sized CMOS sensor, and is not the same as the 32.5 megapixel APS-C sized CMOS sensor in the 90D and M6 MK II. Indeed, the improved on-chip Dual Pixel CMOS AF II AF and slightly different sensor sizes bear this out.
My observation is R7 RAW image quality is about the same as my EOS 90D. If I were to split hairs, 90D RAW files exhibit slightly less noise whereas R7 RAW files are a tiny bit sharper. I try to avoid setting ISO over 1600 with either camera. By ISO 3200, images look like they're assembled from grains of sand! So no miracles with the changing of the guard.
JPEG
R7 JPEG processing has improved greatly over the 90D and M6 MK II. Indeed, you may never need to touch a RAW file again: optimal color, noise reduction and lens corrections are baked it.
DPP4
R7 RAW images converted in DPP4 at defaults reveal pleasing detail, color rendition and noise control on par with in-camera JPEGs, but with headroom for extensive adjustments. On the other hand, Adobe's Camera RAW profile for the R7 is horrid, yielding noisy shadows even at low ISO. To make a RAW file look as good as the DPP4 default or in-camera JPEG takes a lot of work. R7 files higher than ISO 800 need a dose of Topaz Denoise AI. Hopefully Adobe will improve their R7 profile. For now, the best image quality may be had by converting RAW files in DPP4 and saving as a 16-bit TIF for further adjustments in Photoshop.
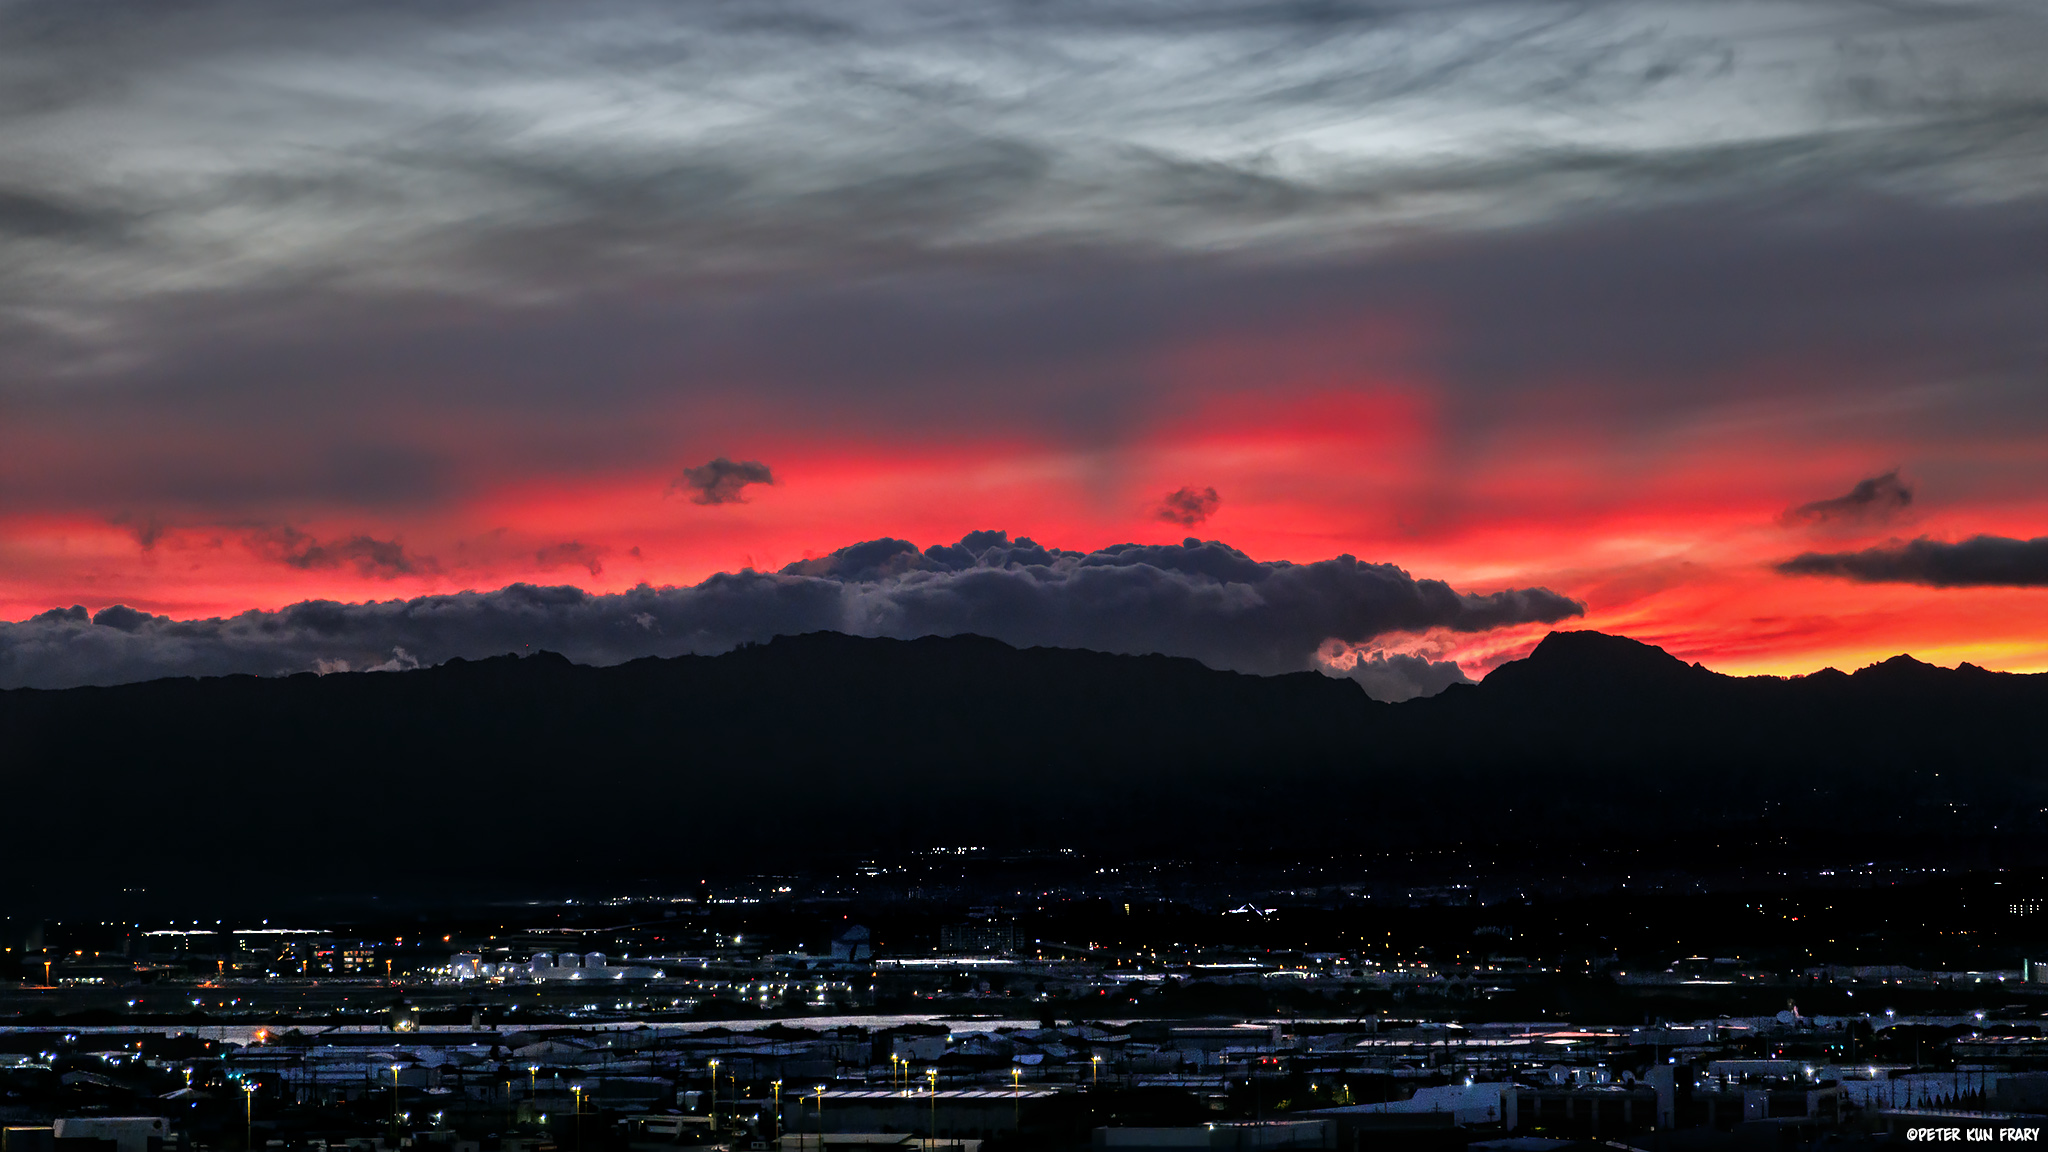
Waiʻanae Range and Honolulu | EOS R7 and EF-S 18-135 3.5-5.6 IS USM at ISO 100, F5, 1/100 sec.

Stick to lower ISO settings and you can get away with moderate shadow lifts. Not nearly to the extent possible with full frame cameras like the R, R6 and R5, but enough to take beautiful landscapes at ISO 100. ISO 800 is my limit for a moderate shadow lift in twilight landscapes. The scene above would be better shot with a full frame cameras, but it's nice to know the R7 can handle twilight landscapes if you're careful with ISO and go easy on shadow digs.
If you're a sports or BIF shooter using a big telephoto in bright daylight, you can get away with more shadow lifting at high ISO.
Waiʻanae Range | EOS R7 and EF-S 18-135 3.5-5.6 IS USM | ISO 800, F5.6, 1/160 | ISO 800 image after a modest shadow lift in the lower frame.
 Video
Video
The R7 is at its core a still image camera, but with the removal of video recording time limits, clean HDMI and myriad 4k and 1080p video options, it is as close as Canon has come to selling a true hybrid still and video camera. Indeed, video is a well implemented feature, ideal for video bloggers and performance artists. And, unlike the EOS RP, SL3, M50 MK II, etc., the R7 allows full frame width 4k with Dual Pixel movie servo. It's also the only non-cinema designated Canon camera without a video length time limit. Indeed, I was able to record 4k/30 at a family event for nearly an hour without stopping or overheating.
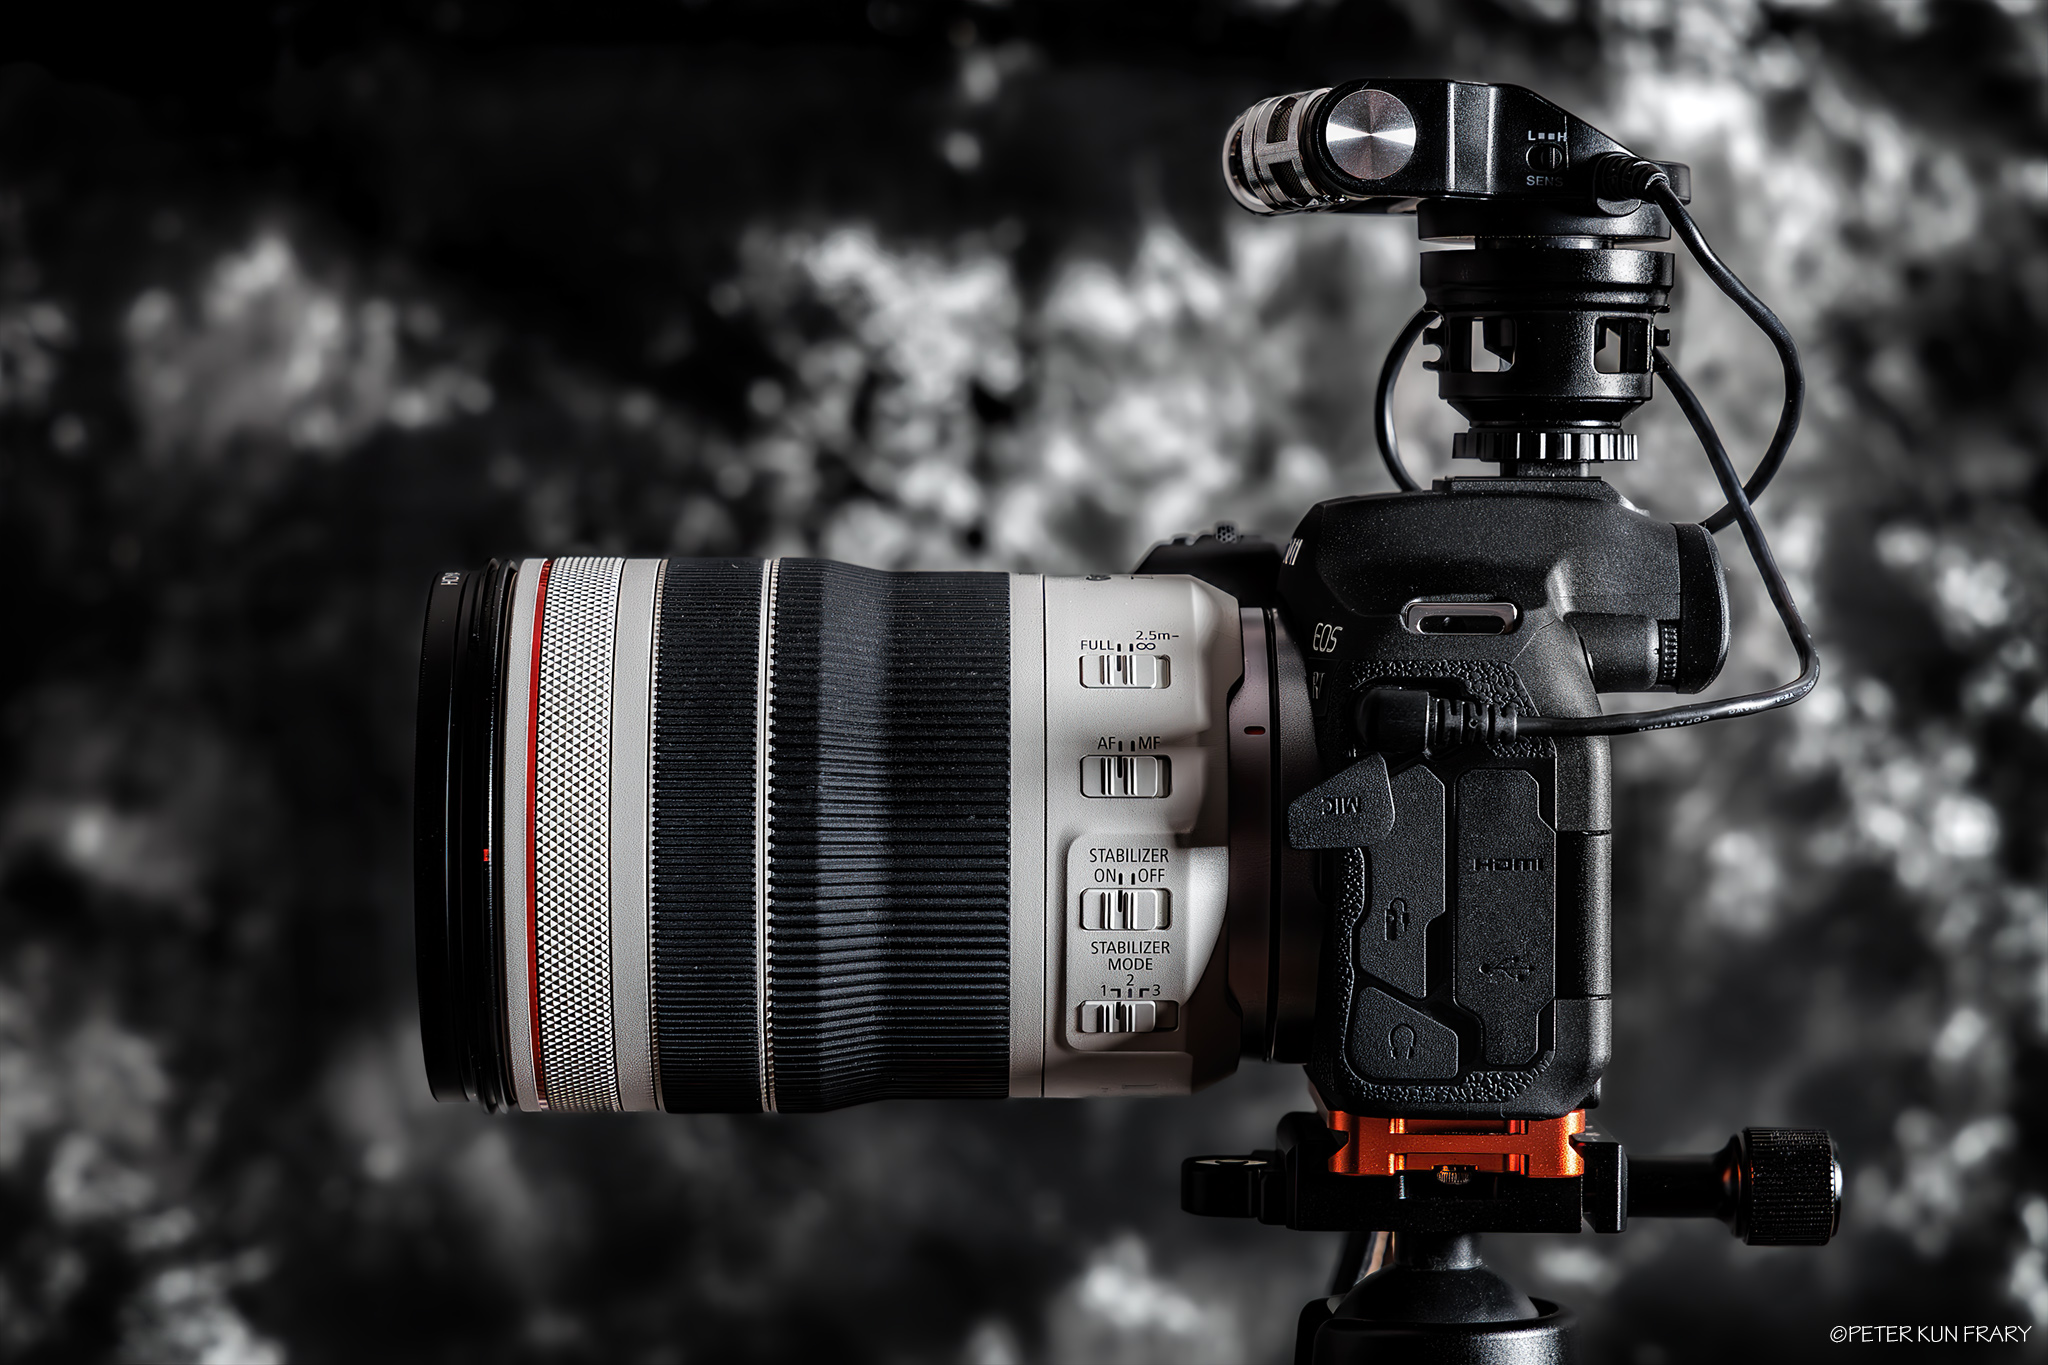
Tascam TM-2X on Canon EOS R7 | Stereo microphone for cameras
Video Modes
Canon Log and time code are included, so you can take video productions beyond YouTube clips if desired. Unlike the 90D, the R7 has a wide range of auto, semi-auto and manual video modes. For example, A+ is fully automatic—press record and go. Fv, P, and B are automatic but permit user control of WB, focus modes, etc. The semi-automatic modes afford slightly more control: Av features aperture input, whereas Tv lets you assign shutter speeds. In all the before mentioned modes, ISO is set automatically in a range of ISO 100–12800. Finally, M mode—my choice for studio shooting—lets one input both aperture and shutter speed, and everything else beneath the hood, including ISO.
The downside to video is the complexity of options—significant experimentation and study are required to figure out what works for you. Once you've found your favorite settings, save them to C1, C2 or C3 on the mode dial so you don't have to input it again! You can also operate the R7 like a point 'n shoot video camera with good results, even while in stills mode: press the
red button on the top deck to roll tape!
Milkweed at Mōʻiliʻili | Peter Kun Frary | R7 and RF 100 2.8L Macro IS USM, Tascam DR-60D MKII and Neumann KM-184 mics (4K, 29.97FPS, IPB)
Taking a Break
I've been a video blogger for years—I have over 330 videos on my YouTube channel—but at this point, I'm burnt out from making videos for my online guitar, 'ukulele and music history courses. For now, I mainly shoot images of peaceful things like flowers, landscapes and small critters! So, other than family videos, I haven't created any serious video projects for a while—maybe never.
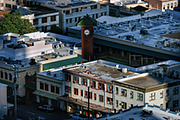
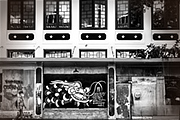
Honolulu Chinatown | EOS R7 and RF-S 18-150 3.5-6.3 IS STM | 150mm, F8, 1/500 and ISO 100


 Connectivity
The R7 features USB-C, Wi-Fi, Bluetooth, HDMI and stereo audio connectivity (mic and headphones). With Wi-Fi enabled and the Canon Camera Connect app, you can diddle settings, fire shutter, upload images and use LiveView on an iPhone, iPad, or Droid. Wi-Fi works well on both my iPhone and iPad (didn't try an iMac). Video may be monitored via Wi-Fi, albeit a bit sluggish. Bluetooth may be used to connect with accessories such as the Canon Wireless Remote Control BR-E1 and to assist Wi-Fi connectivity.
R7 Connection Ports | Connection sockets are hidden under a rubber boot on the left side of the camera.

To configure Wi-Fi and Bluetooth, visit the
Wireless tab on the menu screen. Connecting with Wi-Fi to an iOS device was fiddly the first time but easy once setup. With that said, I rarely use Wi-Fi. When I get home, I upload to my iMac with a card reader: speed blazes compared to Wi-Fi and allows multiple card uploads.
 Remote Control
As a solo YouTube artist, I self-shoot most of my videos, starting and stopping video with a wireless remote. These devices are small and easy to use compared to wrestling with an iPhone while holding a guitar.
Canon RC-6 Wireless Remote Controller | Photo courtesy Canon Inc.
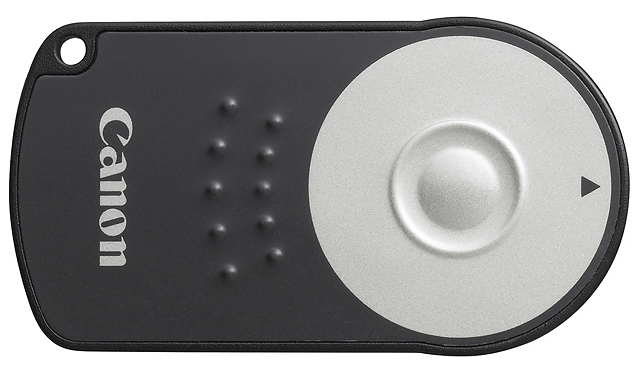
IR Wireless Controllers
The R7 is compatible with IR Wireless Controllers such as the RC-6. Even my 1990 RC-1 works with the R7! The larger RC-6 is the current model and my preferred remote due to the faster setup than Bluetooth: simply select the remote icon in drive menu and it works. It sometimes struggles under bright video lights, so not perfect for everything, but I reach for it first for triggering stills and video. The IR receptor on the R7 is sensitive and the RC-6 triggers reliably in front of, slightly behind and off to the side of the camera.
Canon Remote Switch RS-60E3 | Photo courtesy Canon Inc.
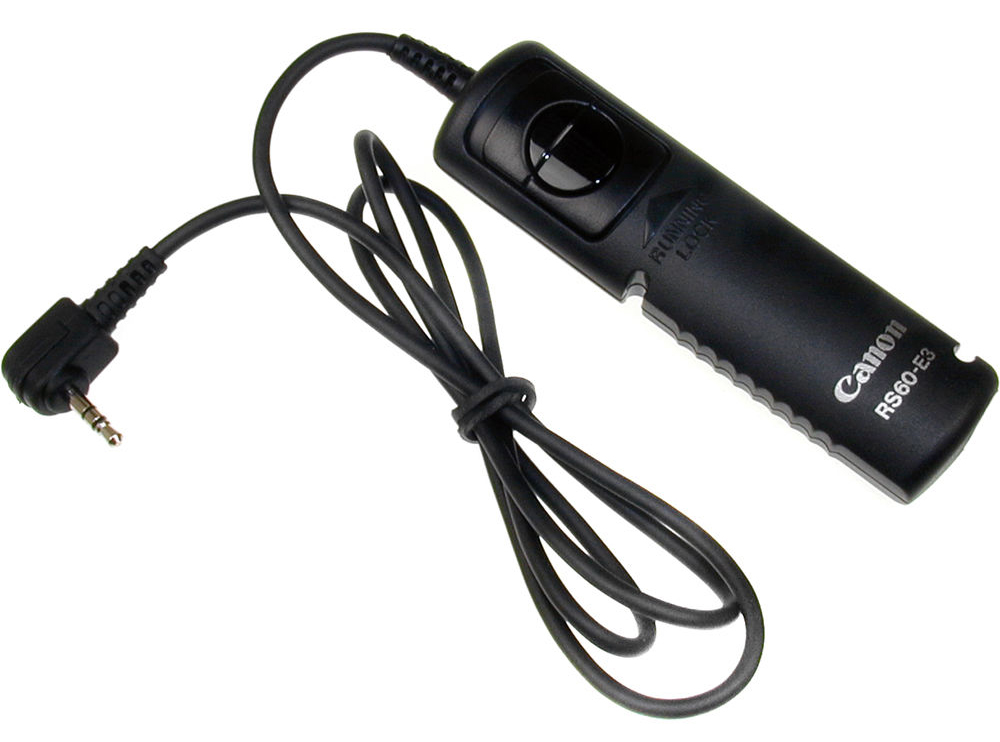
Wired Remote
The wired
Remote Switch RS-60E3 (input socket under the rubber boot) is compatible with the R7. Mine dates from the late 1990s when I owned an Elan 7E and still works great. The RS-60E3 has one advantage over IR remotes insomuch as it behaves like the camera's shutter: half press the RS-60E3 shutter after the camera goes into sleep mode and the camera springs to life instantly. Once the camera sleeps with a wireless remote, you must half press the camera shutter to reactivate the remote—not convenient when you're across the room holding a guitar.
Canon BR-E1 Wireless Remote Controller | Photo courtesy Canon Inc.

Bluetooth Remote
Finally, the Canon Wireless Remote Control BR-E1 may be used to trigger still images and start and stop video recording. Unlike IR remotes, the BR-E1 isn't befuddled by bright video lights or blazing sunlight. Like the RS-60E3, if the camera sleeps, wake it with a single press and trigger with a second press. The BR-E1 must be paired using the Bluetooth setup in the
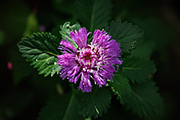
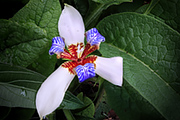
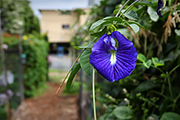
Strange Flower | EOS R7 and RF-S 18-150 3.5-6.3 IS STM

 Battery Life
The R7 ships with the LP-E6NH battery, the same battery used in the R5 and R6. The R7 is also compatible with the LP-E6 and LP-E6N. I no longer own LP-E6 batteries, but the LP-E6N from my EOS R worked perfectly in the R7.
The R7 lags behind the 1400+ images I got out of a charge on the 90D, but approaches 500 images of mixed servo and one-shot with EVF set to maximum smoothness. If you mainly shoot bursts of AI servo H+ you'll get higher numbers, but I rarely work that way. I disabled automatic image review to avoid EVF interruptions in the heat of a shoot. The side benefit of disabling automatic image review is increased battery life. Your results will vary depending on lens used and how much you chimp. If you're out all day shooting, carry a spare battery.
 Lens Compatibility
The RF mount on the R7 is compatible with all Canon RF and RF-S series lenses, well over 20 available. The R7 works perfectly with Sigma's new line of native RF mount lenses, e.g., 18-50 2.8 DC DN, 10-18 2.8 DC DN, etc. Older Canon EF and EF-S lens may be used if fitted with the Mount Adapter EF-EOS R. Canon M series lenses are not compatible with the R7.
I shot extensively with EF and EF-S lenses using the Mount Adapter EF-EOS R with control ring. There was no loss of optical performance, and AF implementation was better than it was on any of my DSLRs. Of course, I couldn't test every lens, but those I tried worked flawlessly. I was especially pleased my ancient EF 200 2.8L USM, EF-S 24 2.8 STM and EF-S 17-55 2.8 IS USM worked well. I'm not as steady as I was in the past, and R7 IBIS has given my EF and EF-S lenses without IS a new life!
Skipper | EOS R7 and RF 100 2.8L Macro IS USM

 Musings
The R7 is a groundbreaking design: petite, quick on the draw and a significant upgrade over the 90D and M6 MK II in terms of AF, FPS and video options. The inclusion of IBIS, Auto Level, no video recording time limit, and subject tracking in all AF patterns hurl it over the top for me.
Advanced User Guide
My only niggle with the R7 is the horrid PDF manual format. The contents of the Advanced User Guide are fine, but it lacks an alphabetical subject index, a feature common to Canon's previous manuals, both PDF and paper. Want to quickly lookup an operation detail? You're stuck with a loosely ordered table of contents, so get used to 963 pages of scrolling and clicking.
Fortunately, Canon has an HTML version of the Advanced User Guide. Look up topics using key words in a search box! Plus, the table of contents is visible on every page. No subject index but a big improvement over the PDF manual.
Final Blurb
The high performance features and APS-C crop of the R7 are aimed squarely at amateur birders and sports enthusiasts. However, the petite size of the R7 also makes it a natural for travelers, hikers and street photographers. Video bloggers will love it due to the eye priority movie servo, reversible LCD screen, extended record times and ample 4K options, including oversampling from 7K and Canon log. It's impossible to be all things to all people, but Canon made a good go at it with the R7 design. For me, the thoughtful design and technical innovations add up to an enjoyable experience and excellent images.
Finally, if you're looking to buy a R7, please purchase it at Amazon by clicking the link below. The referral credit will help support this site.
Brown Anole | EOS R7 and Sigma 18-50 2.8 DC DN | F5.6, 1/320, ISO 100 |
 Features and Specs
Running Gear
- 32.5 MP CMOS sensor with with Dual Pixel AF | 22.3 x 14.8 mm (APS-C) CMOS
- Image Stabilization: 5-Axis Sensor-Shift
- Recording media: 2 UHS-II SD card slots
- Weather-resistant body
- Metering on image sensor with 384 zones
- Metering Patterns: Evaluative, partial (6.0%), Spot (3.0%), and Center-weighted average
- ISO Range: 100 to 32,000 (100 to 51,200 in extended range)
- Exposure Compensation: -3 to +3 EV (1/3 or 1/2 EV Steps)
- Range: EV -2 to 20 (stills) | 0 to 20 (stills)
- White Balance: Auto, Cloudy, Color Temperature, Custom, Daylight, Flash, Fluorescent (White), Shade and Tungsten
- Basic Zone Mode: A+ (full auto), SCN (Portrait, Landscape, etc.) and Creative Filters (special effects)
- Creative Zone: Fv (Flexible), P (Program), Tv (Shutter Priority), Av (Aperture Priority), M (Manual), B (Bulb), and 3 Custom Shooting modes (C1, C2, C3)
- Dual Pixel CMOS AF II
- Stills: 651 zones | Video: 527 zones | EV -5 to 20 sensitivity
- Whole Area AF, Spot AF, 1-point AF, Expand Area AF, Expand Area AF (around) and 3 types of Flexible Zone AF
- Continuous-Servo AF, Manual Focus, Single-Servo AF
- Subject Detection: people, animals, vehicles
Shutter
- Mechanical Shutter: 1/8000 sec. to 30 sec., bulb, X-sync at 1/250 sec.
- Electronic Shutter: 1/16000 sec. to 30 sec., bulb
- Electronic front curtain mode X-sync at 1/320 sec.
- FPS Electronic Shutter: Up to 30 fps at 32.5 MP for up to 126 Frames (JPEG) or 42 Frames (Raw)
- FPS Mechanical Shutter: Up to 15 fps at 32.5 MP for up to 224 Frames (JPEG) or 51 Frames (Raw)
Video & Image Formats
- Image Formats: C-RAW, HEIF, JPEG, RAW
- Video (H.265/MP4 4:2:2 10-Bit): UHD 4K (3840 x 2160) at 23.98p, 25p/29.97p, 50p and 59.94p | Full HD (1920 x 1080) at 23.98p, 25p, 29.97p, 50p, 59.94p,100p, 119.88p
- Video (H.264/MP4 4:2:0 8-Bit): UHD 4K (3840 x 2160) up to 23.98p, 25p, 29.97p, 50p, 59.94p | Full HD (1920 x 1080) up to 23.98p, 25p, 29.97p, 50p, 59.94p, 100p, 119.88p
- Gamma Curve: Canon Log 3 and HDR-PQ
- Connectivity: 2.4 GHz Wi-Fi (802.11b/g), Bluetooth, USB-C, Micro-HDMI Output (clean), 3.5 mm TRS Stereo Headphone and 3.5 mm TRS Stereo Microphone
- LP-E6NH Rechargeable Lithium-Ion battery
Viewing
- Viewfinder: OLED EVF, 2.36M Dot, 22mm eye-point, 120fps refresh rate, 1.15X and 100% coverage
- Diopter Adjustment: -4 to +2
- Touchscreen LCD: 3” 1.62M dot articulating display (900 x 600 pixels)
Weight & Size
- Dimensions: 5.2 x 3.6 x 3.6" / 132 x 90.4 x 91.7 mm
- Weight: 1.2 lb / 530 g
Source Materials
Canon EOS R7 Advanced User Guide (CT2-D181-A). Canon Inc., 2022.
Canon EOS R7 Advanced User Guide (HTML). Canon Inc., 2022.
Created July 28, 2022 | Revised June 01, 2024
Sample Images

|
|
 |
|
|
 |
|
|
 |
|
|
 |
 |
 |
 |
 |
 |
 |
 |
 |
 |
 |
 |
 |
 |
 |
 |
 |
 |
 |
 |
 |
 |
 |
 |
 |
 |
 |
 |
 |
![]()
©Copyright 2022-26 by Peter Kun Frary | All Rights Reserved